Custom painting is a big part of my job. I was thrilled to relove this antique china cabinet for a customer. It was her Grandma's <3 Bringing a family heirloom back to life to be used for many more years to come makes my heart happy. She shared these pictures of the cabinet back home filled with her fancy china. Thanks for entrusting me to complete your vision Gail.
Originally, the customer wanted everything painted a solid yellow based cream color including the inside as in her inspiration cabinet credit to Heir & Space shown above right. But as per usual plans morphed. And for the better I think. Do you prefer inside painted or stained dark?
This antique beauty arrived with glass and hardware removed, partially stripped and sanded all of which make my job easier to get right to work.
Watch the video of this process I use. Rinse the piece well and towel dry to remove excess water. The piece is then left to dry well overnight.
I find most older pieces need some repairs, usually drawers after years of use. This drawer was reglued and clamped square.
I sit gallon paint cans on plastic to flatten the bottom back to original. The plastic protects the can from leaving any marks on the wood.
When dry, the drawer was power sanded inside and out to smooth and remove any marks. My Festool rotex 90 round head works great for these small spaces.
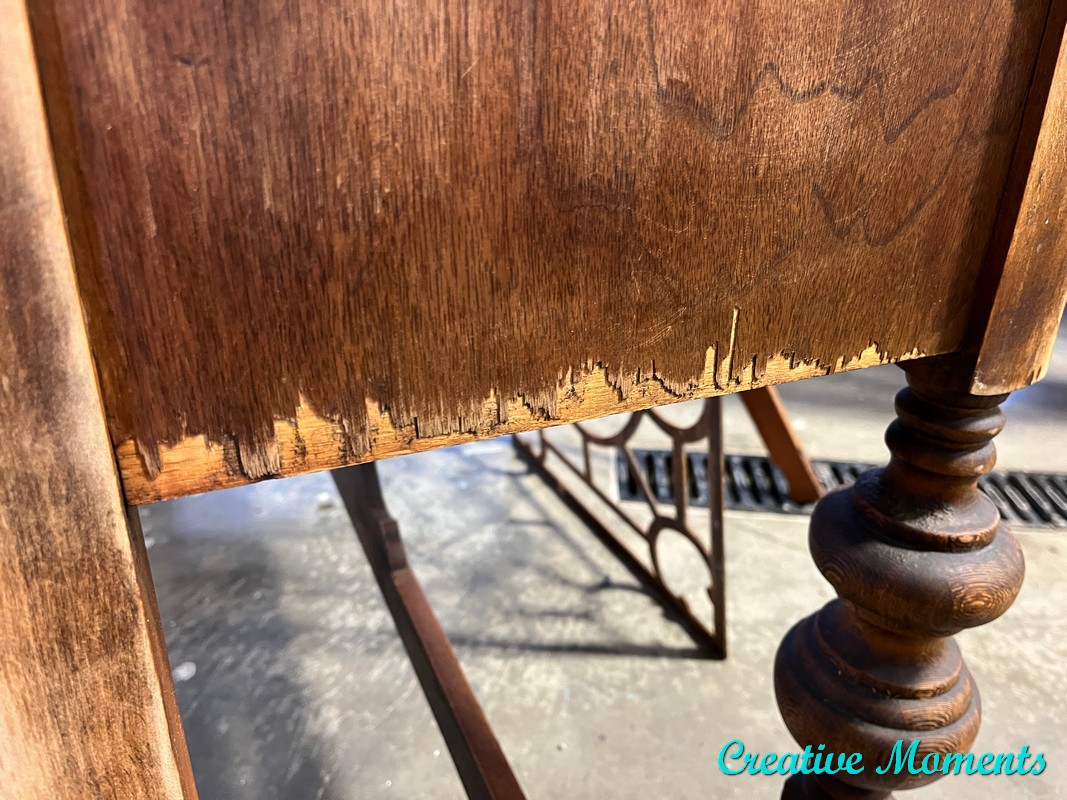
Lower edges are another area that show wear over the years. This cabinet only had one side with damaged veneer.
Again with my Festool sander I sanded it flush. The entire cabinet was lightly scuff sanded and wiped again.
This repair is NOT the fix needed as you will see later in the blog post. There are always plan B's when it comes to refinishing furniture.
Originally the customer wanted the entire outside and inside painted a soft yellow toned white. To assure no wood tannins bled through the light colored paint I sealed the wood with clear Dixie Belle BOSS. I applied it with a Dixie Belle big daddy brush which makes the job go much faster.
The wide big daddy brush required the BOSS to be poured into a container. Two coats were applied on all surfaces and left to dry overnight again.
Being clear it allows the wood grain to show thru and look pretty much like it did when arrived but all the wood protected.
The color sunkissed Dixie Belle silk mineral paint was chosen by the customer. I painted the drawer front and door edge one coat with the paint I had on hand.
I really liked the wood interior and suggested the inside stained rather than painted. The customer trusted my vision for inside and loved the outside color. New paint was ordered for the project which would take awhile to get.
You can see what two coats look like on the drawer front.
The ornate fretwork was painted the soft yellow white with the wider Dixie Belle Artist Brush on both sides. I set it in the cabinet to show the customer when dry. The dark interior pops the fretwork perfectly.
After each coat of paint and the clear boss too, the piece was lightly sanded with a Dixie Belle sanding sponge. This keeps the surface smooth and silky. Above you can also see areas that needed white mud added to fill dings that show after the first coat of paint. They are sanded smooth in this process as well.
Originally the cabinet had 2 of these ornate appliques on each side (L shows where they originally were) however over the years one was lost. The customer will decide where to place the remaining one I painted and distressed. Perhaps inside like shown in right photo.
Using the sanding sponge, the edges were distressed as well. I like doing this on antique peices to keep the piece feeling "old" as well as being more forgiving to future wear. Spots that normally with get worn are distressed. It also adds definition and depth to this color allowing the wood tone to show thru in this areas.
distressing video
Occasionally there is a bit of paint that goes over an edge like on the back edges shown above. To keep the edges crisp and professionally painted I use my Richard Tools small carbide scraper.
I send progress photos to my customers as I go along to be sure the piece is to their liking and vision they have in mind.
Here are the progress shots after 2 coats and the light distressing.
The back top edge detailing shown sitting at the front edge just for viewing purposes.
The lower detailing is so lovely is it not?
The areas where the original appliques shows thru all the layers. Time to power sand smooth and repaint.
Now back to the one lower edge. I was not happy with how it looked painted either. I power sanded smooth and still the filled areas did not look smooth enough.
Using a utility knife and metal straight edge I cut the veneer carefully and removed all veneer below the line.
PC lumber - a wood putty was needed for this edge repair. A piece was kneaded to incorporate the 2 parts then spread in place and left to dry. When good and dry it was power sanded smooth.
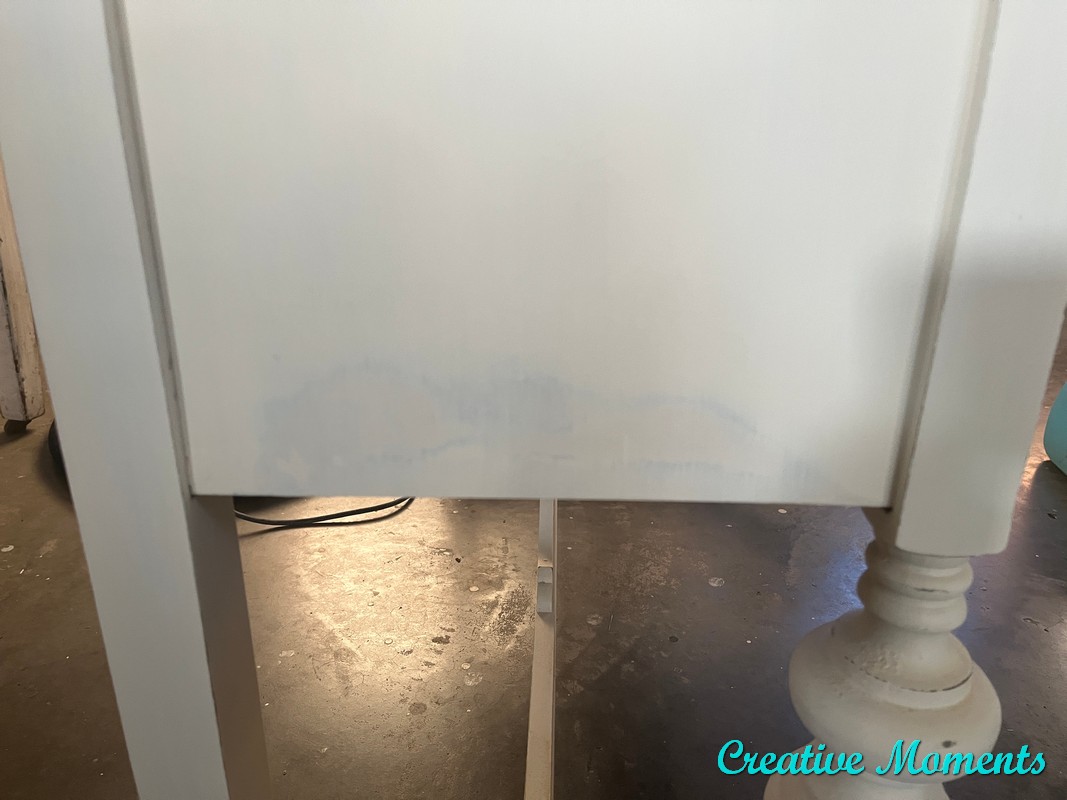
Above is one coat of paint over the sanded putty. Much better. Another coat of sunkissed paint went on then a 3rd full coat was brushed on the entire cabinet.
The top edge and fretwork set in place and photos snapped to send to the customer.
This beauty is complete and ready to head back home where its glass and hardware can be put back on.
Below is a video tour I sent her as well to make sure it was what she envisioned. It was!
Below is the cabinet back home with original glass and hardware on awaiting to be filled and put to use. The customer is also searching for new hardware too. Thanks for sharing this photo Gail.
Links to the Dixie Belle products are for your convenience. My affiliation with this company does not increase prices on your end, your purchases via my links do however provide a small subsidy which allows me to keep providing these free tutorials. Thank you!
FEATURED ON
Shared on these fun link up parties


This is a great step by step tutorial showing how you went about reviving this beautiful piece. Thank you for all the detail and information - so helpful! Coming over from My Uncommon Slice of Suburbia.
ReplyDeleteThank you so very much Kristine and thanks for hosting!
DeleteWhat a beautiful piece. All your attention to detail has reloved this precious piece of history and it will serve its family well for more generations!
ReplyDeleteThank you!! I learned from one of the best :) XOXO
Delete