Welcome to my submission for the Fab Furniture Flippin contest for March themed "Mix & Match" sponsored by
Fairfield World. Fairfeild is a manufacturer of a variety of craft/sewing/upholstery items. This will add a real spin to the usually painted furniture challenge. After much thought, I finally decided upon recreating an upholstered chair.
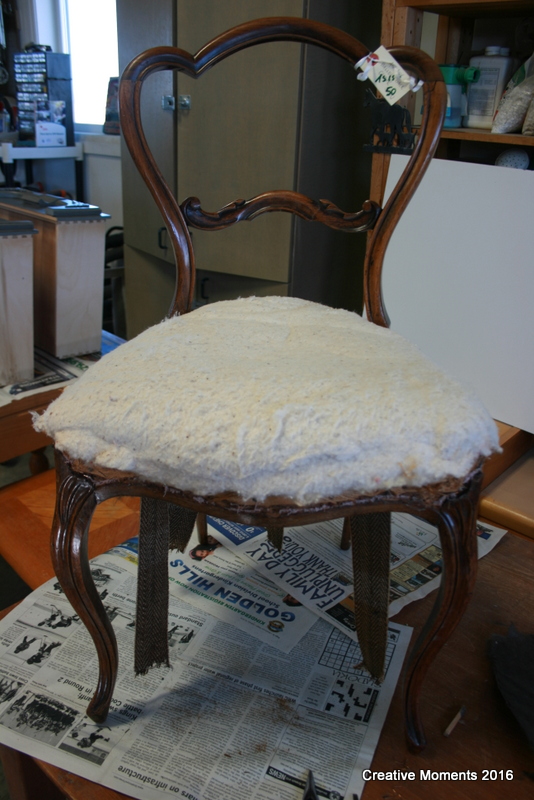
this balloon back antique chair was the one of choice
time to disassemble, check out the staples used to put on the dust cover!
after getting thru the many staples it was time to go thru all the layers. The peach velvet was a "modern" update with scads of hot glue and staples holding it on
the old original webbing was broken as was the burlap, perhaps when the back was broke out as well
finally to the original stuffing on top and more layers to go to reveal the original horse hair seat


the old hand forged nails were endless as well and caused many owies!
finally the chair was disassembled,
the original horse hair seat will not be replaced so a new seat base needs to be made
a paper template should do the trick
and the frame needs a reglue back to sturdy shape and be scrubbed well
I chose a fun bright new color from the Amanda Forrest Fat paint collection called blushing bombshell
a couple coats of paint and a couple of poly and it was ready to get a new seat
my handy husband cut out 3/4" plywood as per my pattern, I sanded it smooth to fit
then arranged my cushion and batting, some adjustments are needed
so tip it over and trace the seat pattern, then remove and cut to fit leaving the batting to hang over
now to decide which direction to lay the seat material
then iron it smooth, however I borrowed my sister my board, another great reason to have granite!
the batting was cut to the lower edges and spray adhesive down to fit
it was then time to secure the material down via many staples
finally it is closing in on completion
I originally picked up this pink grosgrain ribbon for the edges but it seemed to bright
what about the original material??
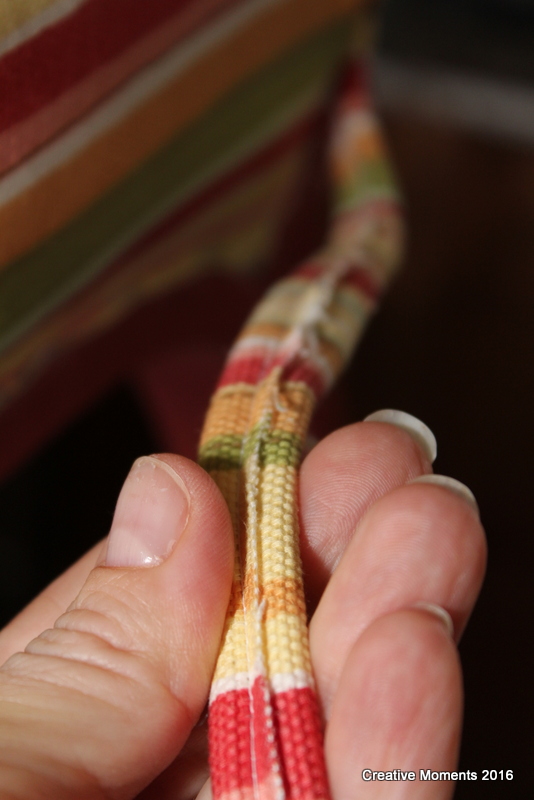
or cream satin? no it will show glue thru, double welting is the winner
I am a true recycling person so ripped the cording all out of the existing old double welt
success
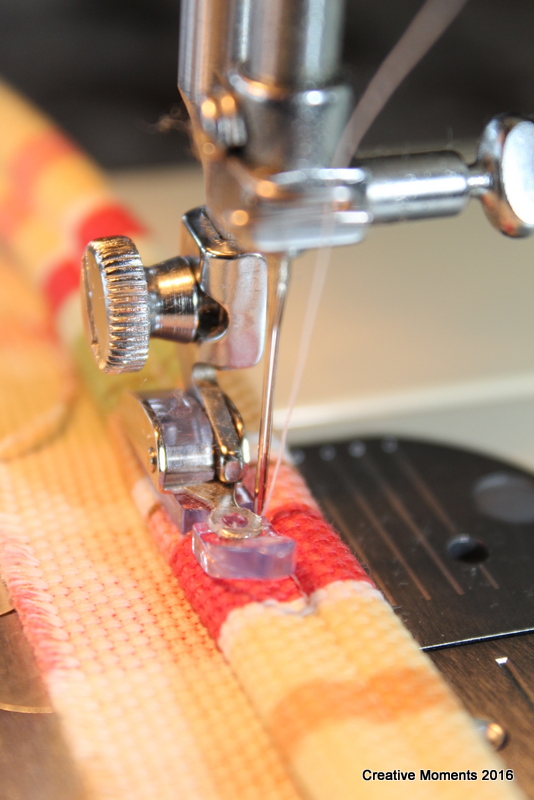
then time to cut material to make the
new welting, I went with 2 1/2" wide, sewed all together in a long strip and created my new trim (thanks to Christy and her blog for the welt tutorial)
of course it did require a fair amount of seam ripping to get the plan right
but soon it was progressing along well
and ready to be hot glued onto the chair
after a few burns to the fingers,
I learned putting glue on the welting was easier then the chair
and the other direction (salvage edge down) would have been better but I wanted to leave the excess at the chair back so choose to put it up
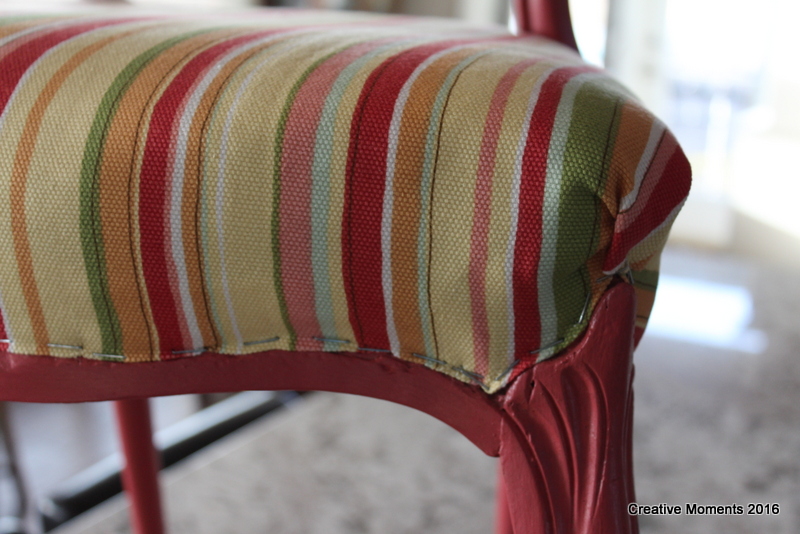
and finally after much blood, swearing and almost tears this antique balloon back chair was complete
ready to serve for many more years
what do you think of this?
and if you are interested in trying your hand at a contest contact info@fabfurnitureflippincontest.com
Thanks for stopping by
Creative Moments March Mix & Match FFF contest entry
*Disclosure
I have received product in exchange for this post, but ALL the opinions are entirely MY own. This post contains a sponsored link for Fairfield World


Absolutely beautiful! Perfect color combo with that fabric. Double welting??? Eek...I've got a lot to learn! Beautiful chair!
ReplyDeletethanks you!!
ReplyDeleteThanks for the shout out! It looks like an entirely new chair. Very nicely done! XO
ReplyDeletethanks for the great tutorial Christy, it sure made a daunting task seem doable!
Delete