DIY Furniture Flip: Refinished Solid Maple Dresser in Classic White
In this tutorial, I’m sharing how I completely transformed a solid maple, Canadian-made dresser into a fresh, modern piece that’s both timeless and functional. Originally a tired chest of drawers, this sturdy maple beauty got a full makeover — from sanding and priming to a crisp classic white finish and new stainless steel bar and knob hardware . The result? A clean, elegant dresser with five easy-glide drawers that looks right at home in any bedroom, guest room, or entryway. Follow along to see each step of the refinishing process and how a little paint and hardware can give solid wood furniture a brand-new life.


Nicely done. I love both versions!
ReplyDeleteWell thank you very much for the kind words.
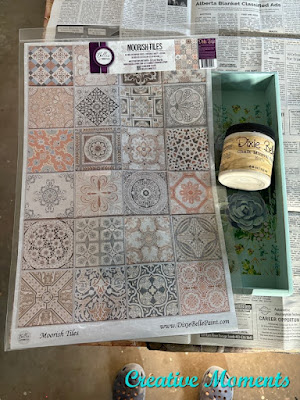
DeleteI like the new beige colours, though the soft green looked pretty too.
ReplyDeleteThank you, I too thought the green would sell but it seemed otherwise however the new color has not sold so perhaps it is not many use a mail tray these days??
DeleteLove this, thanks for sharing with us! I'm featuring you when the next To Grandma's house we go link party starts <3
ReplyDeleteHow exciting, thank you Tarahlynn. See you there
DeleteI'm surprised it didn't sell--I like the greens. But the makeover is beautiful, too! Thank you for sharing this at the Will Blog for Comments #79 linkup. Wishing you a wonderful week to come & looking forward to seeing more of your posts next week at #80.
ReplyDeleteI was surprised about the green too but this color is not selling either so maybe it is the tray itself, maybe no one uses a mail catching tray???
DeleteI love it both ways! Featuring you at Wednesdays in the Studio!
ReplyDeleteThank you very much Jennifer, see you there!
Delete