
I cannot pass up a piece that is heading to the landfill after being a part of history. This petite accent table was a challenge but I think in the end it has a few more years of use in store.

The adorable little antique table was posted online for free curbside outside the local pawnshop. Someone had heisted the brass toe caps from it while out back. They obviously had a project needing a set or they know what it costs to replace them and scored a sale. I just could not see it be trashed so scooped it up and brought it home.
It was worth attempting to give it new life right?
It had water damage on the top most likely from an over watered pot. And it was not level. My husband guesses someone fell on it over the years. It had many attempts to set it right but none worked.
First of all I unscrewed the turned base from the table top.
Using a palette knife I pushed Titebond veneer glue under the bubbled up veneer edges. Then clamped them down and left to dry overnight. Be sure to put a layer of plastic between so the glue does not bond to the "flattening" board too.
Now to address the missing toe caps. Replacing them is costly so I tried to think of other ways. I took one cap off another table and used it as a form with food filler used as the medium and let dry. This was an epic fail so onto plan B.
Using my Festool rotex 90 sander I sanded the top. It still seemed bubbled so tried a steam iron and damp cloth next. This only changed the original finish milky in places, darn it.
I went thru grits 80-120-180 to a nice smooth surface.
Walnut Dixie Belle No Pain Gel Stain was applied with a blue shop towel. I love the rich brown tones of this stain. It is my favorite color in the line.
The base had many repairs over the years. A few gave it a very lopsided tilt. I worked at removing the legs and scraped away the old glue repairs.
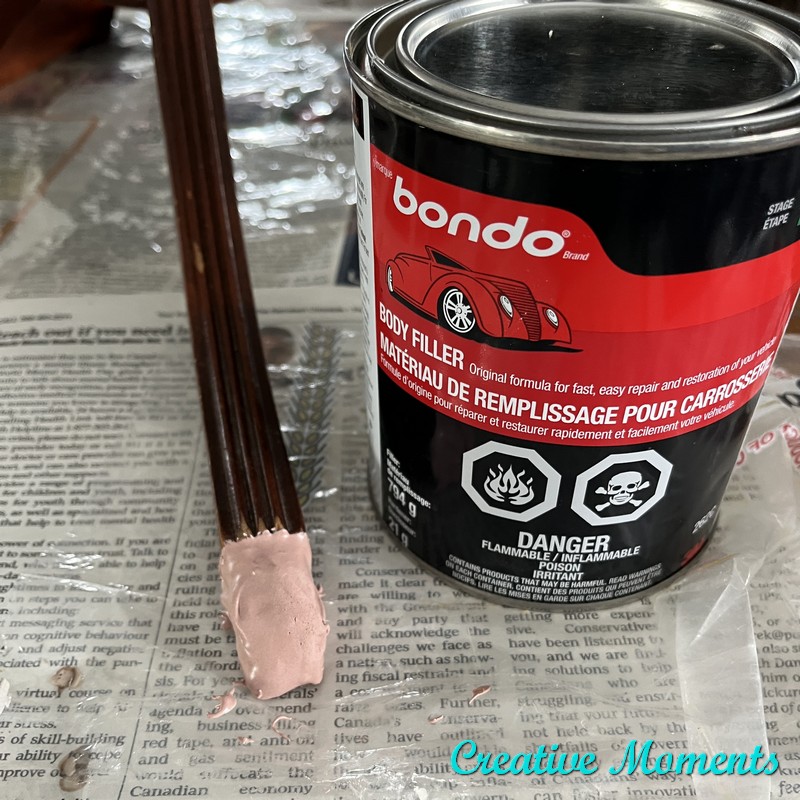
Plan B was Bondo for the toe caps. Seeing this table had so many character issues I chose to build new smooth toes. It is not an antique restoration but rather a give it new life rescue.
The mixed Bondo was applied to the toes and left to dry. Drying does not take long so one must be fast when applying. Mix small batches if easier.
The toes were sanded smooth as were the legs ready to paint.
The legs were glued in place.
To address the un-levelness of the table, a layer of Bondo was put on the bottom of the one leg. When dry it was sanded smooth too.
The base was painted as well in an upside down position to get all sides.
This beauty color is part of the National park series. It looks stunning with the walnut gel stain.
The table top was flipped and the underside painted as well. I like to do the underside to give a professional finish. Two coats were brushed on the edges and base.
The flipped top was screwed securely back to the base. Note the holes were wood filled (shown in the above painting photo) to add more substance to the table.
This sweet little table who saw so much wear and tear over the years is back to serving duties.
It is available for $100 CND
It is not 100 % level but darn close.
but it will be the perfect little coffee cup spot with a pretty plant or décor item.
The veneer does still show a bit of bubbling but the center is always covered with something usually. Next time I would experiment with scraping off the thin wood veneer and see what wood was under it.
Links to the Dixie Belle products are for your convenience. My affiliation with this company does not increase prices on your end, your purchases via my links do however provide a small subsidy which allows me to keep providing these free tutorials. Thank you!
FEATURED ON
Shared on these fun link up parties


What a cute little antique. Your attention to detail transformed it beautifully to perform its duty for many more years. Great color choices.
ReplyDeleteThank you, I appreciate your kind words
DeleteThis is such a gorgeous makeover! I adore a mix of paint and wood grain. The paint really makes that wood grain sing!
ReplyDelete