
When I spotted this reddish finished table I knew I wanted to try a Pottery Barn inspired light finish on it. So that is just what I did. Let me share my version of this look.

The fold down edges make this table a great size for many spots. It is also sturdy and simply styled. But the dark finish needed to be updated to a lighter color that is currently trending.
I brushed on a thick (maybe too thick in some areas) coat after a good shaking of the container and let it sit to do its magic.
After about 30 minutes I scraped the old finish and extra stripper off with a metal scraper keeping a flat surfaces and long strokes.
Striping scraping video
This is how I disposed of the gunk after my 3 projects stripped at the same time.
The stripper needs to be neutralized once removed. Here is my neutralizing video
This is the results after the first stripping.
The next day I worked on the edges and the legs/apron of the table.

Day 2 progress
Once the surface dried it showed all kinds of sanding pig tails or swirls in the veneer finish. Was this done before the original finish or was it redone in the past and stained red??
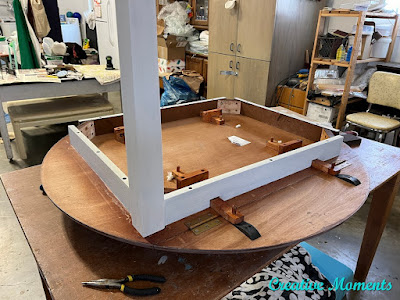
I took the legs off to have better surface area to work on.
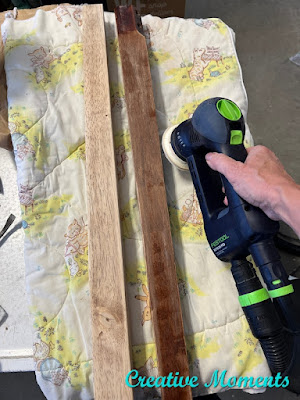
The legs were power sanded to remove the remaining finish and get back to bare solid wood.
All 4 legs completely sanded on all 4 sides.
Today my new Festool ETS 125 arrived. Perfect timing to sand the top as it has a 5" sanding pad.
Here it is on my first table top sanding in action.
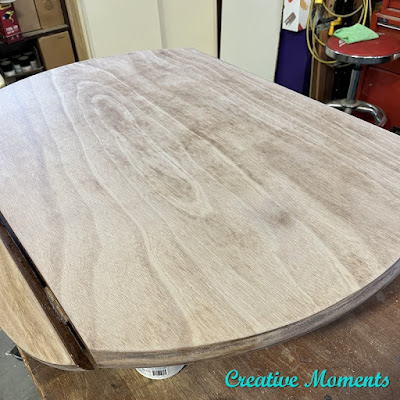
Sanding progress carefully done on the thin veneer.
The wood tones are not quite the same once back to bare wood but the refinishing will help bring them together.
This table top is thin veneer over MDF so the edges were hand sanded. The video above shows the process.
Found the table information underneath - this table was built in 2013.
Enjoy these painting videos I hope help show my white wash painting process. I am applying Dixie Belle silk mineral paint in endless shore that has been watered down.
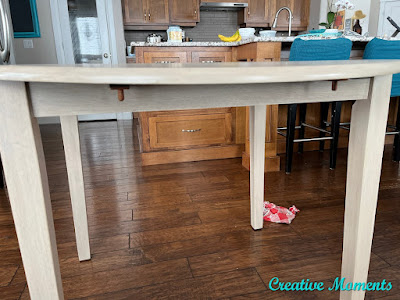
One leg was set in place to gauge the look intended quickly.
The top was flipped over and ready to be painted.
How I white wash the table top video.
Finishing the top video and how the big daddy brush makes this finish so much easier.
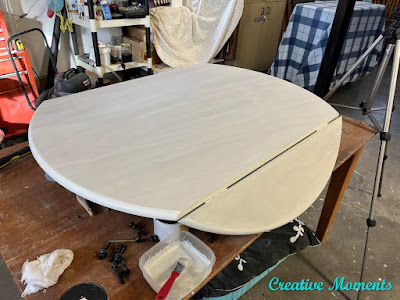
The fold down edges needed a smaller brush. I used the largest Artist Brush to get the paint in these narrow areas.
The table top complete. You can see the watered down paint still allows the wood grain to show thru nicely.
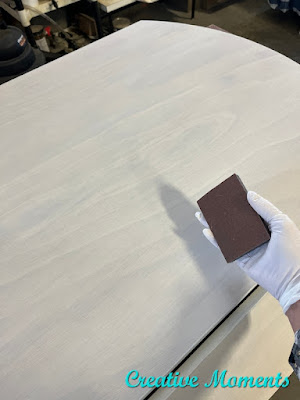
Once the paint is dry it is lightly sanded with a sanding sponge to smooth the surface like silk.
The legs were then given a wash of tobacco Voodoo
Gel Stain. This step gives the depth and darker coloring to create the Pottery Barn inspired finish. Have a Fine
Mist Spray Bottle to add a bit of movement where needed thru this whole finish process.
video of how I apply
The shorter version video of how I apply the tobacco Gel Stain
The tobacco stain was applied over the table top next.
And a video of doing the edges in the tobacco Gel Stain.
clear coating the legs a second coat
Once inside to stage, the edges were given another coat of the tobacco Gel Stain
wiped on with a paper towel
applying another coat of Gel Stain to darken the apron edges
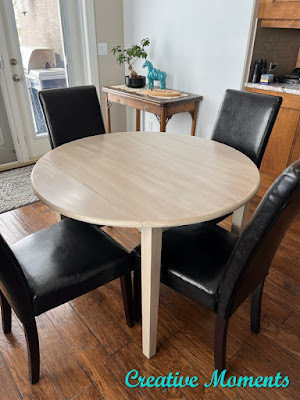
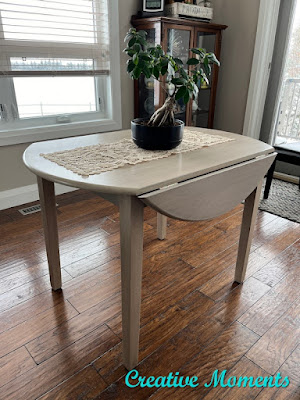
Just look at this finished table
and here it is in the customers home
Links to the Dixie Belle products are for your convenience. My affiliation with this company does not increase prices on your end, your purchases via my links do however provide a small subsidy which allows me to keep providing these free tutorials. Thank you!
FEATURED ON
Shared on these fun link up parties














Comments
Post a Comment