I recently sourced 2 bread boxes at a local thrift store. Bread boxes are very popular sellers for me but I never have any on hand as they sell right away.
This one was spoken for even before I posted it as the first gal on the list called it.
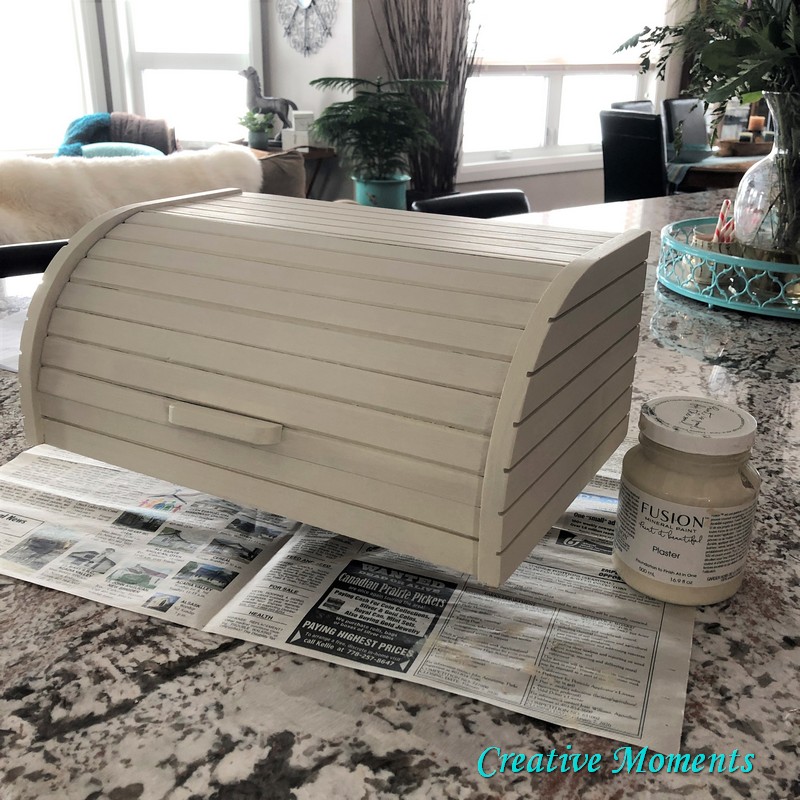
After our consulting session she went with the same warm white as this roll top bread box I did awhile back sans a stencil.
Step one scrub every inch of the bread box inside and out with warm soapy water and sprayed on Simple
Green cleaner. I like to use a scrub brush to get in all the nooks and crannies, rinse well and let dry completely.
Fusion Mineral Paint in plaster ; a soft warm white was brushed on in two coats on all sides. When all was dry, the entire bread box was sponge sanded to smooth the paint and distress the edges.
 The customers accent kitchen color was turquoise so I surprised her by adding a removable liner to the inside. I love this option because it adds some fun to the piece (there are many patterns and colors) and makes clean up much easier PLUS it can be easily changed when needed. Just measure the area, mark on the contact liner, cut, peel and press in place.
I have linked items I use on my projects via my Amazon affiliate for your convenience. Rest assured there is no pressure to purchase nor is there any increase in price using my links. It is only meant to share what products I find useful.
Shared at these link up parties
Farmhouse Friday


Comments
Post a Comment