Search This Blog
Hi, I am Lee Ann, the creator and refinisher @ Creative Moments. Creative Moments is all about reloving & recreating furniture and home decor. I give no longer "in style or the right color" furniture/decor a new look to become ONE OF A KIND custom finished pieces. This blog is dedicated to sharing how these unique pieces were achieved. Be sure to SUBSCRIBE to get all the details right in your inbox. (along the left hand side )
FEATURED Blog Post on Hometalk
- Get link
- X
- Other Apps
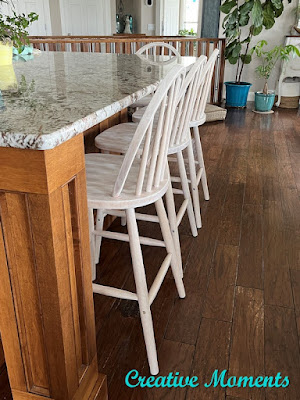
White Washed Wooden Bar Stools
Solid wood bar stools were sanded bare and refinished in a white washed stain oil finish. Let me show you how.
White Fusion Stain & Finishing Oil was applied with a blue shop towel. Above it is going on the back rungs. So easy, wipe on, after 15 minutes wipe off the excess.
Watch this quick video applying the white Fusion Stain & Finishing Oil.
Check out many more Stain & Finishing oil projects HERE
- Get link
- X
- Other Apps
Comments


.jpg)


These look soo much better! Thanks for sharing on Crafty Creators!
ReplyDeleteNiki | Life as a LEO Wife
Thank you kindly Niki!! Appreciate it
DeleteLove the way these turned out LeeAnn. I bet that card was pretty nifty to get into those hard to reach places, nice someone else put in some of the work for you too!
ReplyDeleteThank you VSG, I agree when I saw them partially complete I knew that saved me some time for sure. The sander card is amazing!
Delete