
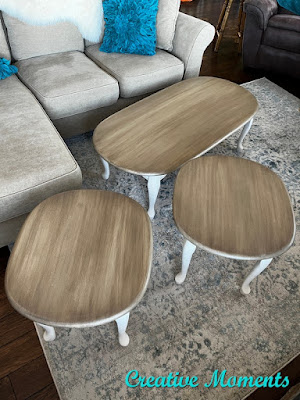
Thirty three years ago we purchased this coffee and end table set. For years it provided great service to us but it was time for a makeover. I gave it a new rustic color update that paired well with the subtle curves.
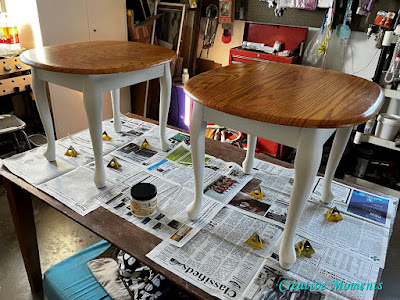
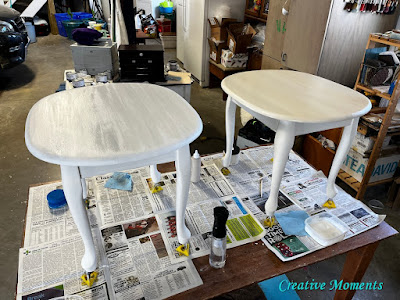
I am not sure how 1 end table did not make this picture but there are 2 end tables.
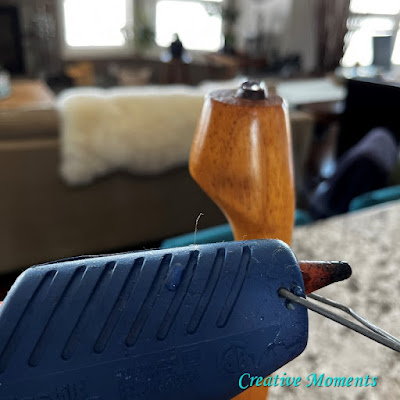
When I set the one end table on our hardwood floor I noticed it rocked. What the heck? We have had this set for 33 years but it has always been on carpet. To remedy this issue I applied a bead of hot glue on the bottom of 2 of feet (on opposite corners). It worked brilliantly!

They were cleaned with a damp cloth.
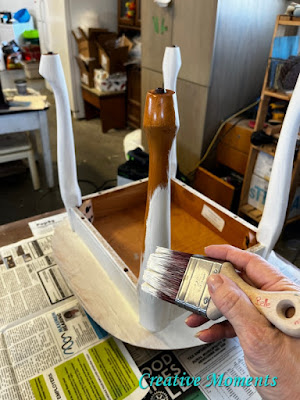
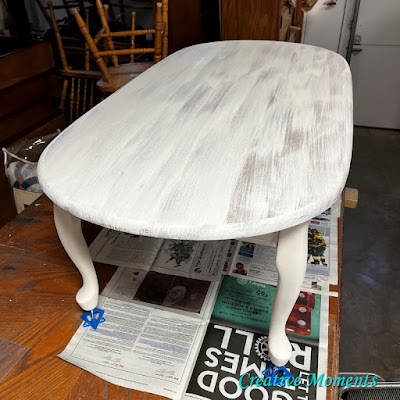
And flipped upside down on paint pyramids. I like to start with the underside first.
The coffee table getting its first coat.
Two coats were applied to all 3 bases.
The tops were re wiped and any paint from the edges.
I love the dark wood look tops and warm white base combo. You can see quite a few other pieces I have done in this look; same style coffee table, fold down table, dining table, a fancier FP coffee table, another dining table, an end table, an oval dining table, a pedestal dining table, another fold down table, a chunky farmhouse coffee table set, a long FP coffee table, another pedestal dining table, a curvier FP coffee table, a round fold down edge dining table, another FP coffee table , mission styled end tables, the matching mission coffee table, an antique serving cart, a vintage tea cart, a butterfly leaf dining table , an antique vanity, an antique ironing board, a natural top/white coffee table, double decker FP end table, and an antique dresser.
So after adding these I see I really like dining tables and French provincial (FP) tables done in this look.
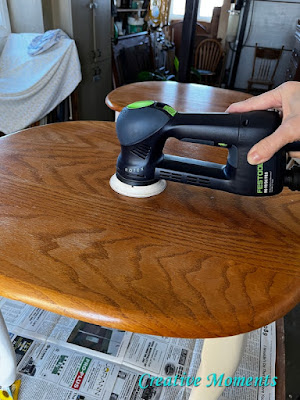
I decided to give the table tops a fresh coat of color but first a quick scuff sand and wipe.


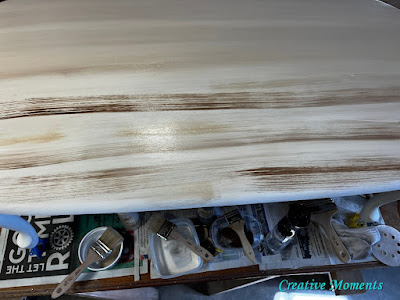
Unfortunately the table tops wear over the years was enhanced with the stain. This video shows what the table top looks like after the gel stain up close.
SO I decided to try something different. In hind sight I should have stuck with this stain plan :)
If you want to bypass my multiple change of plans please skip to the bottom finished photos.
All the tops were underway on this new plan.
applying the buttercream video
2 coats of the buttercream were applied like this
On another coat of stain, grey gel stain was added to the white (video)
and blending with paper towel (video)
For this grey white look.
But even while wet I was not a fan of the now whiter top with the warm white bases.
So yet another plan emerged.
Watch my adding dirt video.
The top and bottom still did not harmonize. SO I did a wash of the buttercream over top of the stain once dry. Nope, this was not the look I wanted.
It needed more dimension
It created an amazing look.
But again once all was dry I still did not love the tops and bases together. They were each pretty on their own but not together.
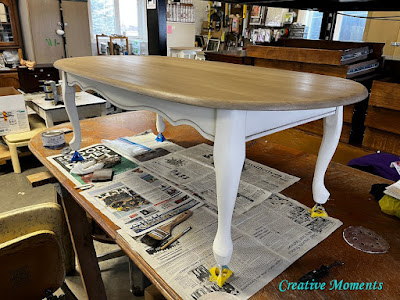
So I did a coat of walnut Gel Stain over the tops and loved it. If you made it this far in my multiple plans, thanks you!! I believe in sharing the bad as well as the good and hope to spare you the extra steps. BUT I also want to share that everything is fixable and changeable when it comes to visions in your head and on projects.
I then added brown best dang wax on the bases as to give a more rustic warm feel.
I changed the dirt color in the crevices to earth. This warm brown was much better. This is my go to look so why did I try to change it right?
That was allot of steps to get to here but I am a fan of the final look.
It is definitely one of a kind.
Links to the Dixie Belle products are for your convenience. My affiliation with this company does not increase prices on your end, your purchases via my links do however provide a small subsidy which allows me to keep providing these free tutorials. Thank you!
FEATURED ON
Shared up at these fun parties


















Love the rustic worn weathered look of this coffee end table! The distressed finish and reclaimed materials give it such unique charm. Beautiful craftsmanship and great tips for styling. Keep up the creative work!
ReplyDeleteAlso visit here: https://homeloftglobal.com/
Thank you so very much
DeleteGreat job!! They look fantastic...I did something similar a few years ago on 2 tables my husband bought at a church flea market for $6 each!!! Thanks for sharing!!
ReplyDeleteHugs,
Deb
Thank you Deb, great minds think alike :)
DeleteAmazing transformation!
ReplyDeleteTHANK YOU that means allot :)
DeleteI loved following your process! I do things that way all the time, and most times they turn out great. Yours ended up beautiful, and look gorgeous in your home! Thanks for the step by step - I'm inspired!
ReplyDeleteThanks Barbara, I am so glad I am not the only one that has many do overs on some pieces :)
DeleteDo you know how nice it is to hear someone else keeps furniture for a long time? I have friends who comment I cannot believe you still have that, like it is a bad thing. I like what we buy for our home, never making rash decisions, and do not follow trends when making large purchases. Love how you breathed new life into your tables.
ReplyDeleteWe are kindred spirits, I am so sad that many people discard pieces that at one time made them happy to have. Most just need an update. Thanks for your kind words!
Delete