From Gilded to Grounded: A Standing Jewelry Armoire's Dark Moody Transformation
Sometimes, a "bright and airy" makeover just doesn’t fit the vibe. I found this standing jewelry armoire after it had already been given a white and gold facelift by someone else, but it felt a bit too "glam" for many people. I knew it had the potential to be something much more sophisticated, mysterious, and—of course— moody . In this tutorial, I’m taking you through the process of retaining some of the previous DIY and layering on a deep, velvety dark green finish. We’ll be leaning into those shadows, highlighting the unique curved silhouette. Whether you're looking to tone down a piece that's "too bright" or you're ready to embrace the dark academia aesthetic, here is how I turned a high-contrast piece into a seamless, moody masterpiece.


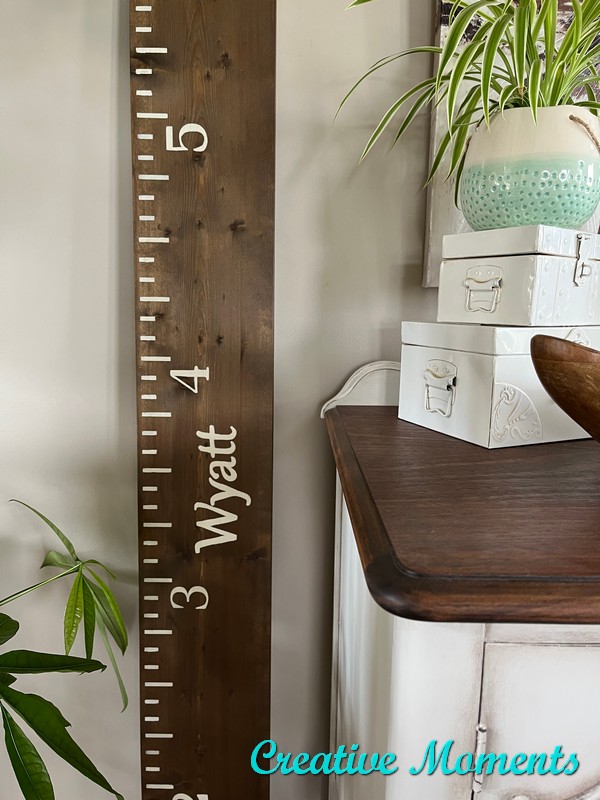
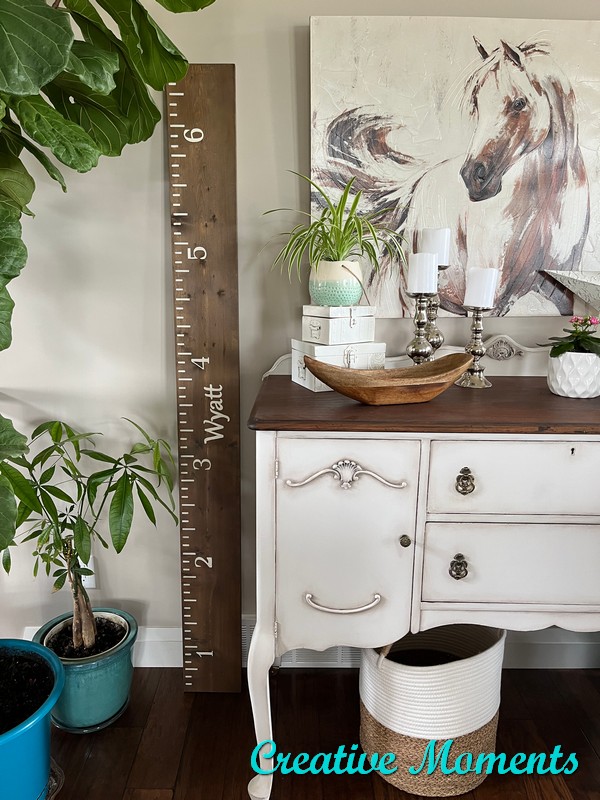




What a wonderful personalised project Lee Ann.
ReplyDeleteThank you for sharing your custom growth ruler DIY at Create, Bake, Grow & Gather party this week. I'm delighted to be featuring it at the party tonight and pinning too!
thank you for that, I will go check it out :)
DeleteWhat a lovely personalized piece, I am sure you made one momma happy LeeAnn. Growing up, I would write on the trim of the laundry room right by where you walked into the room. My parents tracked my growth by my chicken scratches, lol! I am surprised they left it there honestly. I am glad you were able to create something that has better tracking lol!
ReplyDeleteI did that with my girls to and always wondered why I never thought of this back then after transferring the marks to a trim piece LOL
Delete