
FEATURED Blog Post

Modernized Solid Pine Hand Crafted Heart Wall Shelf

Bringing New Life to a Country Classic. We’ve all seen them: those solid, well-built pine shelves from the 80s and 90s that have a lot of heart (literally) but are stuck in that unmistakable "orange" stain era. While the craftsmanship is top-tier (this one was hand crafted by my father in law), the color can often feel a bit too retro for a contemporary home. In this tutorial, I’m showing you how to take a vintage 9-cubby wall shelf and transform it from a dated relic into a bolder, fresher, and more current statement piece. By applying a rich chestnut brown stain , we’ve traded that brassy orange hue for a deep, sophisticated tone that highlights the wood grain. Follow along as I walk you through the prep, the staining process, and how this simple color shift completely changes the vibe of the piece—making those iconic heart cutouts feel intentional and chic rather than just "country."

Wyatt's Custom Growth Ruler


Young mom Becky ordered a custom growth ruler for her son Wyatt. She loved the looks of one of my favorite growth ruler creations and ordered it. Sans flowers of course.


I use 6' tall spruce boards that are 8" wide and 1" thick. For the ruler base color, Varathane wood accelerator was brushed on. Both sides are stained.


Using my favorite Muddaritaville Studio growth ruler stencil, I stenciled the markings and numbers on using warm white endless shore Dixie Belle silk paint with a 3/4" stencil brush. All was lightly sanded with a Dixie Belle sanding sponge.

Be sure to stop by Muddaritaville with this link for 10% off your stencil order.


I hand paint all my names on the rulers. Once printed out, I trace it onto the ruler after rubbing white chalk on the backside of the paper.


This ghost outline is left.


Next I go over the outline with a white sharpie oil pen.


Then the name is hand painted using a small artist brush using the endless shore Dixie Belle silk paint.


The name is all hand painted and left to dry. Then it was lightly sanded with a Dixie Belle sanding sponge.


To seal, Dixie Belle clear coat in satin sheen was brushed on. Both sides were sealed with 2 coats with a light sanding between coats again with a 
Dixie Belle sanding sponge.


Subscribe to this Blog  Follow me on Instagram 
Follow me on Pinterest ~ Follow me on Facebook
Follow me on Hometalk ~ Visit my Etsy Store
Email me


Comments

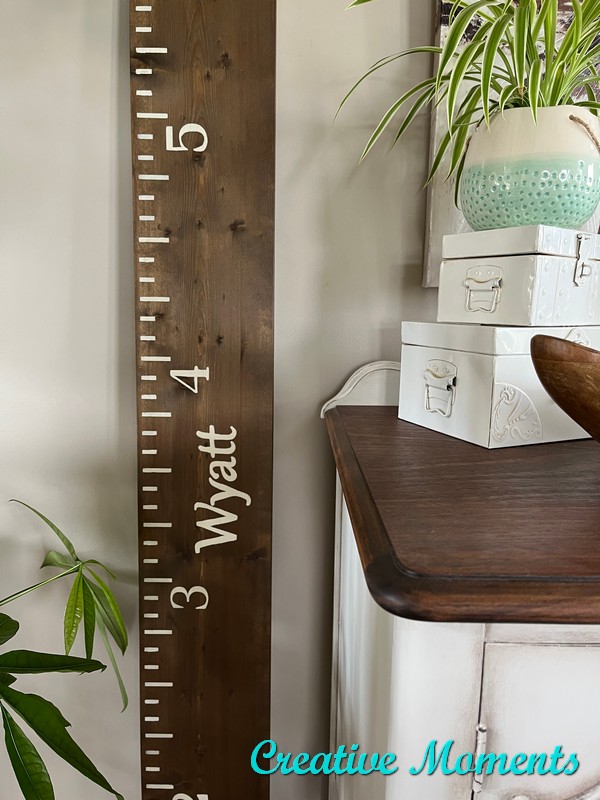
  1. What a wonderful personalised project Lee Ann.
    Thank you for sharing your custom growth ruler DIY at Create, Bake, Grow & Gather party this week. I'm delighted to be featuring it at the party tonight and pinning too!

    ReplyDelete
  2. What a lovely personalized piece, I am sure you made one momma happy LeeAnn. Growing up, I would write on the trim of the laundry room right by where you walked into the room. My parents tracked my growth by my chicken scratches, lol! I am surprised they left it there honestly. I am glad you were able to create something that has better tracking lol!

    ReplyDelete
    Replies
    1. I did that with my girls to and always wondered why I never thought of this back then after transferring the marks to a trim piece LOL

      Delete

Post a Comment