I jumped at the chance to refinish this gorgeous art deco solid wood cabinet. I chose classic black but used both a stain and paint combo to give it a new look.
A friend was downsizing his mother in laws place and asked if I might want to give it new life, HECK YA!
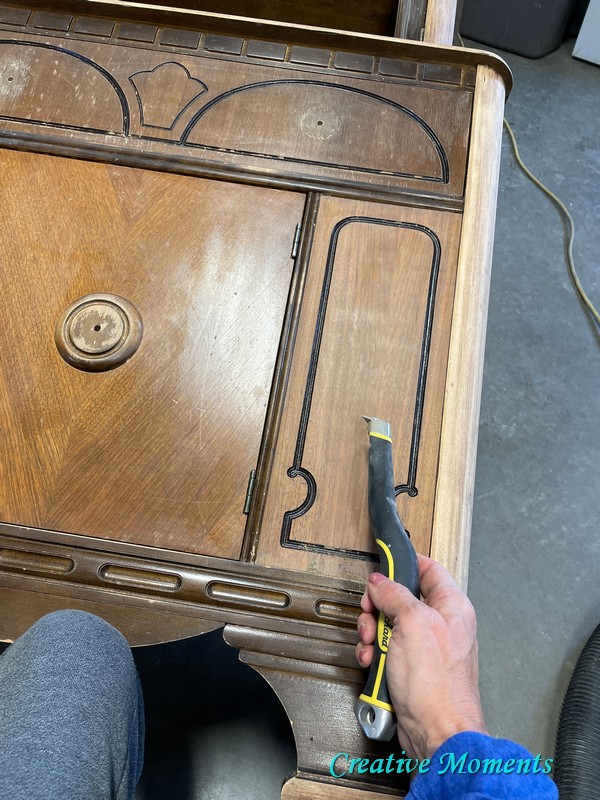
First I removed the glass carefully using a putty knife to pry the wood pieces holding the glass and fretwork in place. I marked the wooden pieces as they came out knowing they may fit only 1 way.
How I removed the fretwork and glass video
I flipped it over and did the other side as well. Slow and steady was my pace so not to gouge the wood.
scraper video #1
scraper video #2
The top and edges were hand scraped standing back up.
Once all the finish was scraped off it was wiped clean on all surfaces with a damp cloth and spray cleaner then power and hand sanded smooth. The sanding dust was wiped off and ready for the next steps.
As was the original hardware after cleaning.
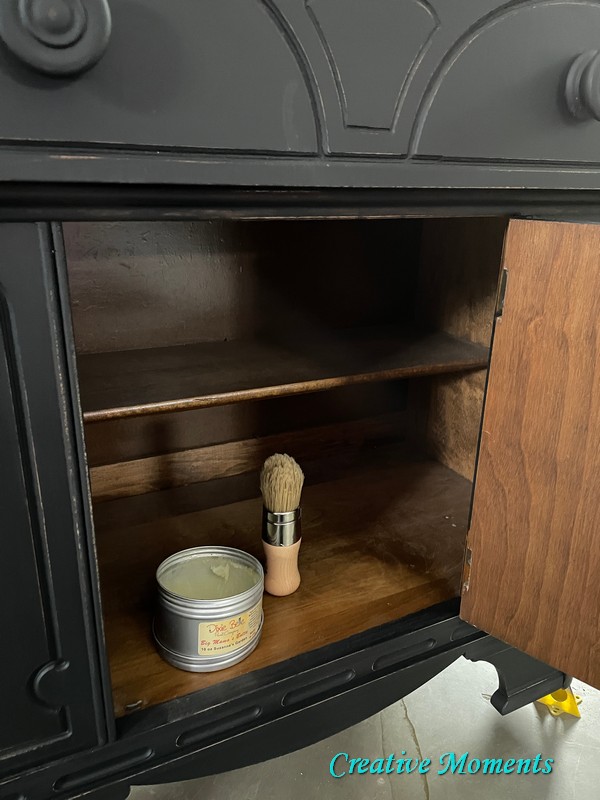
For the bare wood on top and sides, Dixie
Belle No Pain Gel Stain in colonial black was applied with a blue shop towel. With a clean shop towel the excess stain was wiped off.
Here is staining video #1
and staining video #2
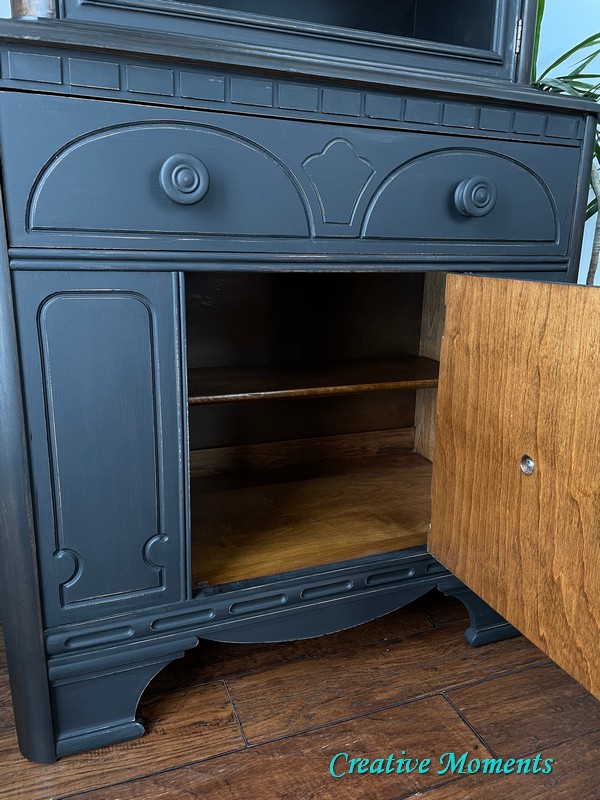
On the front edges where the wood did not take the stain the same as the rest, I applied light touch up Gel Stain to the area after 3 days drying time repeated until it looked similar.
Inside the drawer the bottom was plain old hardboard so I wanted to jazz it up with some pretty paper. This art deco bird pattern Dixie Belle rice decoupage paper was the perfect pairing seeing the cabinet was art deco design.
I measured a couple times to be sure then cut the rice paper to size.
It was ironed flat to remove the fold line and wrinkles,
After the paper was positioned in place over the clear coat, another flat clear coat was brushed on top of the paper to further seal it in place.
it looks perfect don't you think?
This little ball catcher is what holds the doors closed. The lower door is missing this so I am currently finding one to replace it. UPDATE: I found one, see end of tutorial for details.
I also did this inside the upper cabinet over the paint as well.
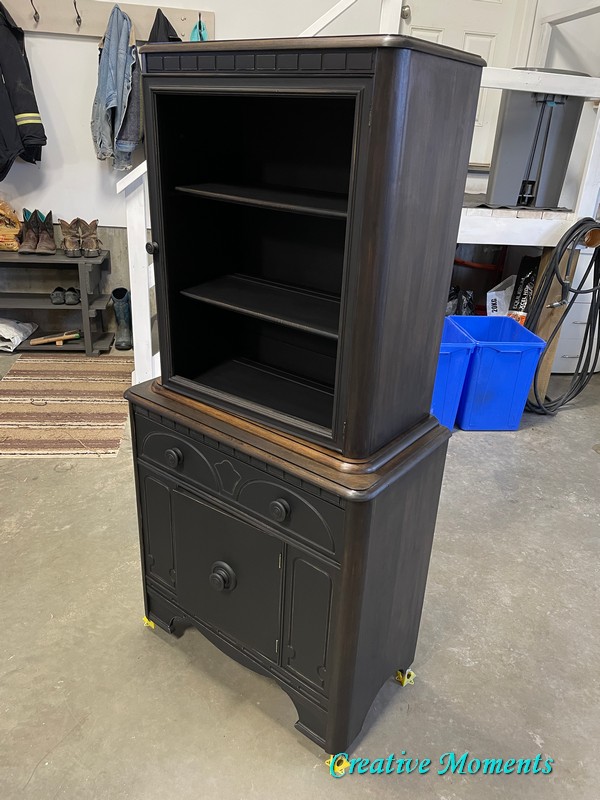
So far so good, I staged it showing the fretwork and glass out
So folks could see the main parts of it clearly.
Please keep reading as it gets better :)
And without staging decor too
Another peek of the pretty art deco bird drawer liner.
Photographing black is hard to show true color but it is a rich black.
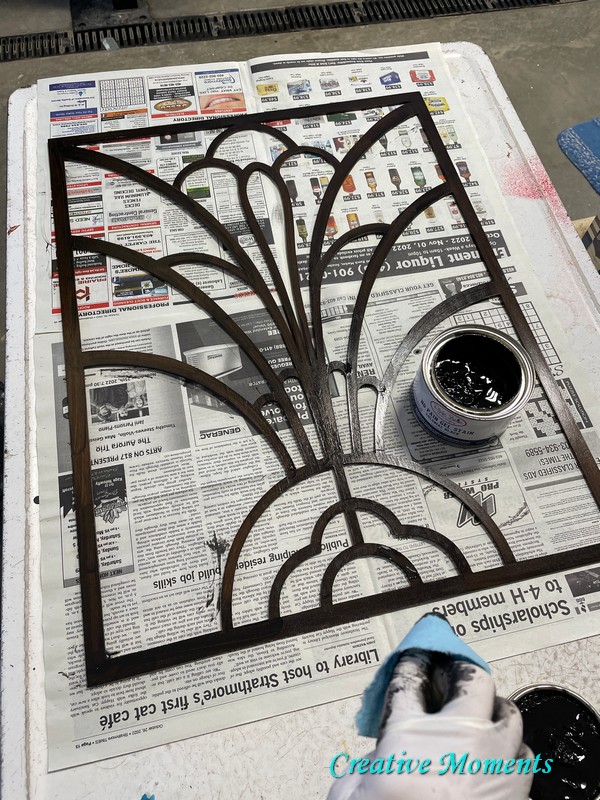
Now with the fretwork, this is original stain set in the door. I put this photo and no fretwork side by side and shared on a few paint groups asking personal preference to keep the fretwork or leave out.
Hands down it was 95% keep it!
So I cleaned it well, lightly sanded the edges smooth and stained it the same colonial black No Pain Gel Stain as the sides.
fretwork staining video
And once dry, I set it in and LOVED it!!
It truly add the art deco vibe.
I installed the original glass back in place and this beauty is ready to find its new home. It is available if you are wanting a one of a kind china cabinet, bookcase, hutch in your home.
Take a video tour!
UPDATE!!!
I found a ball catch for the lower door from the amazing
D Lawless Hardware and for .47 US CENTS!!! I was quoted $34.26 CND for a catch and plate (which I did not need). It fit perfectly.
Links to the Dixie Belle products are for your convenience. My affiliation with this company does not increase prices on your end, your purchases via my links do however provide a small subsidy which allows me to keep providing these free tutorials. Thank you!
FEATURED ON
Saturday Sparks
Shared up at these fun parties


That is an absolutely gorgeous cabinet! I admit: I am jealous!
ReplyDeleteThank you so very much for stopping by and sharing such kind words!
DeleteGORGEOUS
ReplyDeleteTHANK YOU!! :)
DeleteHi LeeAnn! It turned out so pretty. It looks like you get instant gratification using that carbide scraper. I need to invest in one of those. Do you San afterwards then? I have one kind of like this one and I took the glass out. Is it easy putting it back in?
ReplyDeleteI love the carbide scraper and yes I usually do sand after just to get rid of any bits left and smooth all. Yes the glass is easy enough to put back in but get a second set of arms to help hold the door. :)
DeleteYou did an awesome job giving new life to that lovely piece.
ReplyDeleteThank you so very much, your kind words are deeply appreciated!
DeleteI love Art Deco furniture, and this make over is a beauty! Thank you for sharing with Whimsy Home Wednesday!
ReplyDeleteThank you for sharing your kindness and hosting!
DeleteThat art deco cabinet is beyond gorgeous, and you did an absolutely phenomenal job! Smiles, Linda at Paper Seedlings
ReplyDeleteThank you, your kind words made my day!! :)
DeleteSo much work involved but you made it look amazing! I always enjoy your tutorials and photos. This post will be a feature this week. #HomeMattersParty
ReplyDeleteThank you Donna, I appreciate the kind words and the feature!!
DeleteThank you for sharing your inspiration with us, I love this makeover, art deco is one of my favorite styles. You did this piece proud!
ReplyDeleteThank you, I really enjoyed refinishing this one as I don't ever get many art deco pieces
DeleteOh my, you did such an incredible job refinishing. What a wonderful eye you have😻
ReplyDeleteYou are so kind, thank you so very much!!
DeleteBeautiful, simply beautiful. You did an amazing job.
ReplyDeletethank you so very much for the kind words
DeleteWhat a makeover; this is incredible, Lee Ann.
ReplyDeleteThank you bunches for sharing this with Sweet Tea & Friends this month.
Thanks Paula, this was a favorite change up piece.
DeleteYou did a fantastic job on the refinishing process! The step-by-step method is well demonstrated in the images and videos. Seeing old items given new life with a little bit of imagination and work is always motivating. Continue the excellent work! I think you should be awarded with Ono hawaiian bbq coupon because of your work!
ReplyDeleteYour creations appear to be a labor of love! I like the lined drawers.
ReplyDeleteThank y
DeleteThank you, all the work was worth it. The drawer liner is so fun agreed :)
Wait, did you keep it or is it for sale?
ReplyDeleteIt sold :)
DeleteI have this exact piece, I got it from my grandmother!
ReplyDeleteHow lucky are you. I love this piece allot. Perhaps I should have kept it but sadly I can't keep them all :) enjoy your piece of history
Delete