Search This Blog
Hi, I am Lee Ann, the creator and refinisher @ Creative Moments. Creative Moments is all about reloving & recreating furniture and home decor. I give no longer "in style or the right color" furniture/decor a new look to become ONE OF A KIND custom finished pieces. This blog is dedicated to sharing how these unique pieces were achieved. Be sure to SUBSCRIBE to get all the details right in your inbox. (along the left hand side )
FEATURED Blog Post on Hometalk
- Get link
- X
- Other Apps
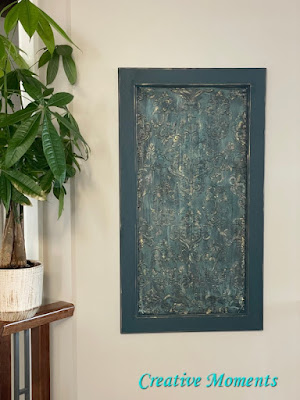
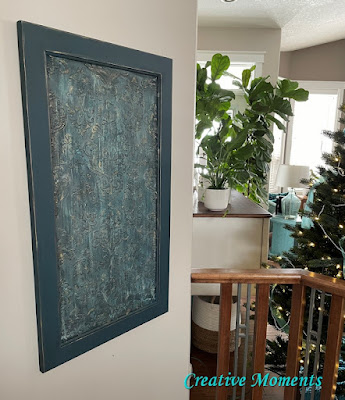
Victorian Wallpaper or Old Tin Tiled Inspired Wall Art
I love creating my faux tin tiles and decided to create a larger framed version.
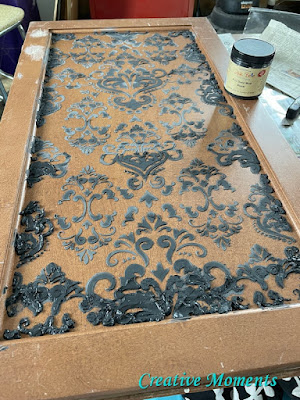
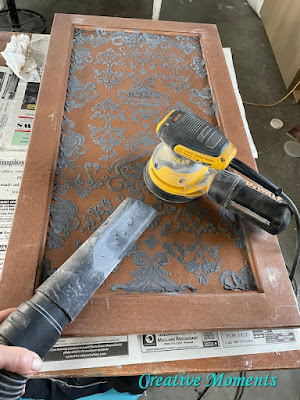
After a bit of thought I decided on a large maple cabinet door I had on hand. Step 1 was a good scrub with Dixie Belle white lightning cleaner seeing it had been stored in my dusty workshop.
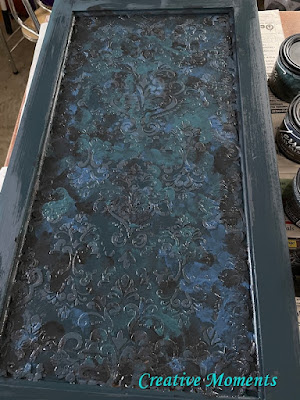
This next step uses yet another premium chip brush to dry brush agave clay paint. Dry brushing is when the brush is drug across the surface at an angle that hits all the high points.
I also used a Fine Mist Spray Bottle when needed to blend areas that need it. I also swirled and dabbed the lighter color in areas too. As well it is easy to add previous colors in spots that look best in them or touch up areas using one of the chip brushes allocated for each color.
I kept applying colors and dry brushing and misting till I got my desired look.
After the paint colors dried well over night I sealed them with Dixie Belle Terra Seal applied with yet another
Now to add some depth brushing on black and brown Dixie Belle's best dang waxes using a dedicated Dixie Belle premium chip brush for each color. I cannot say enough about these super affordable well made brushes. Grab a bundle to have on hand as they are so handy.
Once everything was to my liking I did a final coat of Dixie Belle Terra Seal and it was complete.. well at least for now :)
- Get link
- X
- Other Apps
Comments








I love how this turned out and I'm thinking I need to add this to my list of things to try. Thank you so much for sharing your inspiration with Whimsy Home Wednesday!
ReplyDeleteThank you for the kind words and hosting :)
DeleteI love this idea!! I have that stencil and a cabinet door. Yay!! You are full of good ideas!
ReplyDeleteThank you Cheryl!! I appreciate your time and kind words, happy creating!
Delete