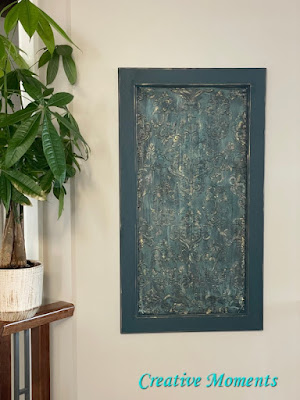
I love creating my faux tin tiles and decided to create a larger framed version.
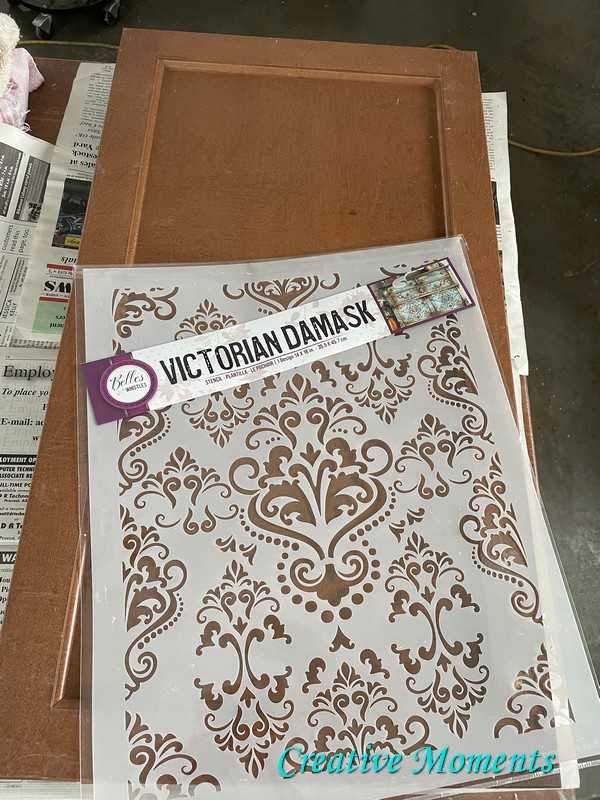
After a bit of thought I decided on a large maple cabinet door I had on hand. Step 1 was a good scrub with Dixie
Belle white lightning cleaner seeing it had been stored in my dusty workshop.
Flipping it over I drilled out the plastic screw holders and filled with
Dixie Belle mud as well as the hardware holes on the front side.
The stencil was moved and repeated to fill the center of the board.
After the mud started to dry and firm up a bit the stencil/mud was added around the edges.
I sanded the raised design a bit to smooth with one hand and my shop vac in the other; my poor womans dustless sanding system. :)
Next color stippled on was London blue
then onyx
the clay paint makes adding these colors so easy
then blue moon
followed by Cerulean blue. There was not pattern just random all over.
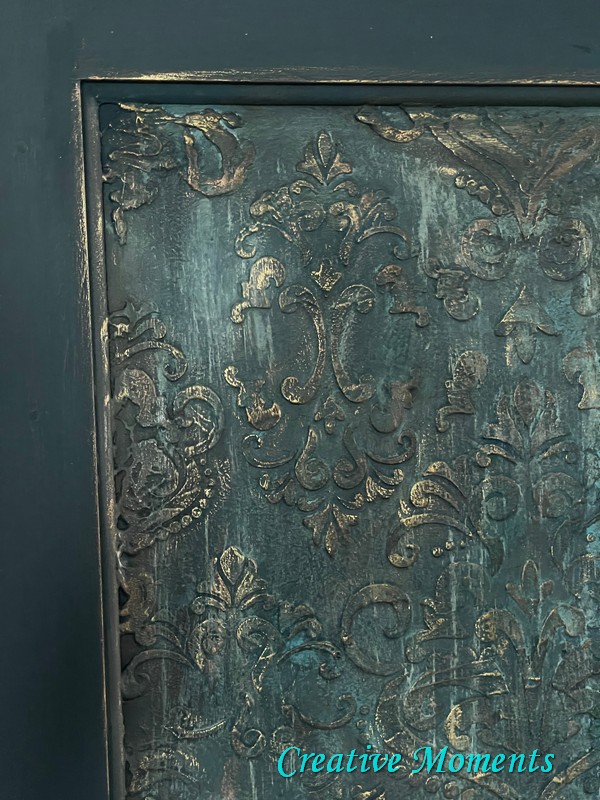
This next step uses yet another premium chip brush to dry brush agave clay paint. Dry brushing is when the brush is drug across the surface at an angle that hits all the high points.
I also used a Fine
Mist Spray Bottle when needed to blend areas that need it. I also swirled and dabbed the lighter color in areas too. As well it is easy to add previous colors in spots that look best in them or touch up areas using one of the chip brushes allocated for each color.
I kept applying colors and dry brushing and misting till I got my desired look.
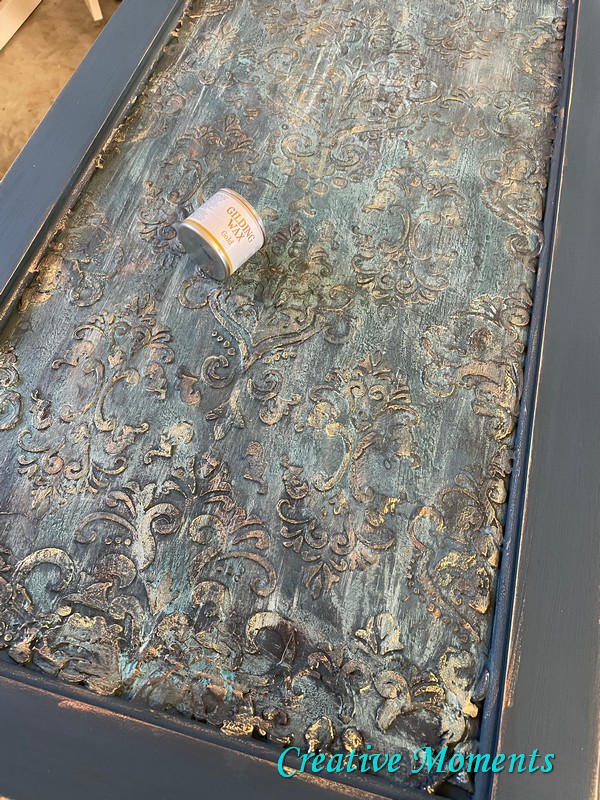
Then gold and bronze
Gilding Waxes too for a blended metal feel. I love how creative these paint products are to use.
Once everything was to my liking I did a final coat of Dixie Belle Terra Seal and it was complete.. well at least for now :)
see it live in this video
the problem is trying to get a true color photograph but trust me it is really a pretty blend felling like an old tin tile or raised Victorian wallpaper.
Links to the Dixie Belle products are for your convenience. My affiliation with this company does not increase prices on your end, your purchases via my links do however provide a small subsidy which allows me to keep providing these free tutorials. Thank you!
FEATURED ON
Shared up at these fun parties


I love how this turned out and I'm thinking I need to add this to my list of things to try. Thank you so much for sharing your inspiration with Whimsy Home Wednesday!
ReplyDeleteThank you for the kind words and hosting :)
DeleteI love this idea!! I have that stencil and a cabinet door. Yay!! You are full of good ideas!
ReplyDeleteThank you Cheryl!! I appreciate your time and kind words, happy creating!
Delete