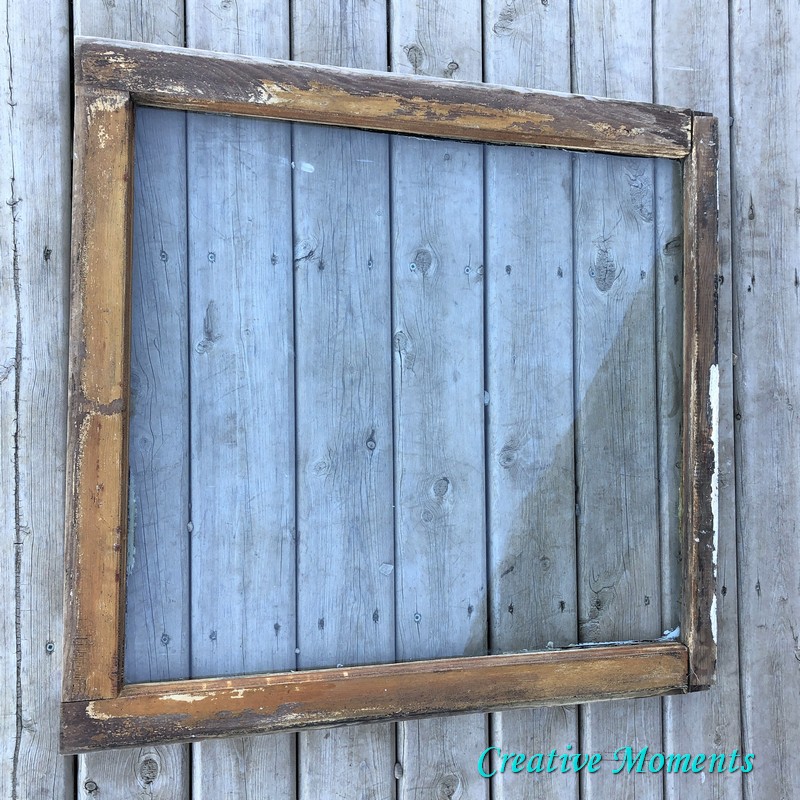
Looking at this vintage window frame you might wonder what I had in mind but I thought it was a great shape for my laundry room wall to try my hand at applying a vinyl quote in it.
A good scrubbing followed and it was left to dry well.
This was the vinyl quote. I purchased it from a fellow marketer,
Reveal My Designs, who makes these windows as her business. I so appreciate her selling me one as I usually hand paint but was dying to try this method just once.
The weather here in Alberta Canada was having a chinook making it perfect to take the frame outside to sand. Above is the back side and below the front. Both sides were power sanded with my orbital sander to make smooth and remove all loose paint wearing a mask in case the paint had lead.
The back was sealed with 2 coats of varathane to be sure there will be no issues with the old wood and paint.
Now to paint the front side; for the first coat I used Miss Mustard Seed milk paint in Eulalie's sky.
Followed by dry brushing on Homestead House milk paint in loyalist, then their prairie sunset and then topped House and Canvas angora white.
All was sanded and another dry brush coat of Homestead's loyalist again with a final sanding.
To seal it all in, I chose Homestead House clear furniture wax. I love how wax deepens the colors.
Now to apply the vinyl.. first remove the backing carefully making sure all the letters stick to the transfer paper. Rub with something firm from the backside of the paper you are pulling up if they lift.
Now to turn it over and place on the glass. It is VERY important you know where you want it to be on the glass as once it touches, it is there and cannot be moved. I used my ruler to carefully smooth it out once in place
Then it was time to pull it off.. slowly and carefully! And oh so nervous
But it all worked perfect, YAY!
I put the paper under to just show it better
I am very pleased with the end result, now to add the wall fastener. I am planning on using a
french cleat for great stability.
closeup of the layers of paint
Shared at these fun link up parties
Farmhouse Friday
Silver Penny Sundays
Creative Inspirations
Inspiration Monday


Comments
Post a Comment