Modern Heirloom: MCM Black & Natural Wood 6-Drawer Dresser
This stunning Mid-Century Modern dresser is a masterful blend of timeless design and contemporary refinement. Finished in a classic satin black, the body provides the perfect contrast to six elegantly curved, linear drawers, each showcasing a rich natural wood stain that highlights the beauty of the grain. At 50" L x 19" D x 32" H, this statement piece offers generous storage while making a bold, sophisticated impact in any room. A modern heirloom, reimagined for today’s interiors.


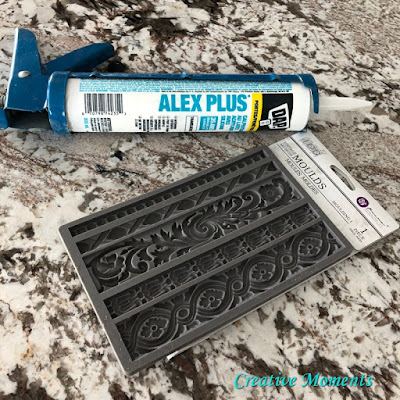
Do you ever add more silicone as it settles while drying?
ReplyDeleteI think I may have but try to fill the first time :)
DeleteThank you so much! I had no idea this could work!
ReplyDeleteThank you so much so sorry for the delay in replying as this was found in an awaiting moderation folder ;(
DeleteThis is great as someone on the Tribe was just asking about this so I'll share link. Thanks heaps!
ReplyDeleteGlad to be able to help, thanks for sharing :)
DeleteThank you so much for sharing your tips. I’m not a fan of the paper clay (I’ve only used it in the snow flake molds) and was turned off by the results. I thought maybe I’d never use my other molds but now I will with the clear caulking! Thank you for renewing my interest in molds again.
ReplyDeleteSo glad I could renew your interest, best of luck :)
DeleteThank you for renewing my interest in molds again. I’m a beginner and started with IOD paper clay and the snow flake mold. I was entirely disappointed with the results. Now I’ll try the clear caulk in all the molds I have.
ReplyDeleteHello, do you put corn starch in the mould prior to putting the caulking in? Thanks so much!
ReplyDeleteHello, no I do not I just use as is :)
DeleteCan you use the white acrylic silicone?
ReplyDeleteI would only suggest this DAP product I used as I have tried nothing else :)
DeleteI tried the White DAP and it did not work. I am goimg to get the clear tomorrow and try this.Do not use silicone by itself it will adhere to the mould and not cone out!
Deleteyes be sure you get this exact one, it is the only one I have used and it works great
Delete