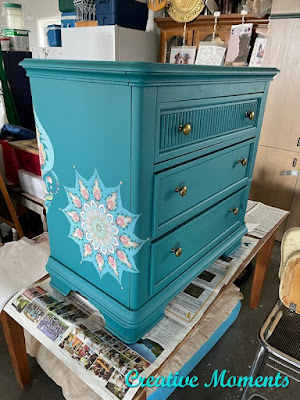
This transformation is quite dramatic, but I always enjoy adding a whimsical piece now and then to sprinkle some fun into the home.
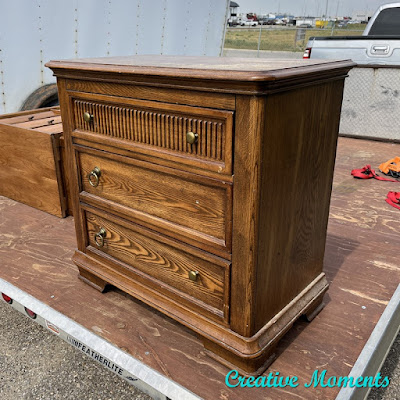
This dresser is a great size with 3 ample drawers yet compact.
The top was in rough shape as was the top drawer but a good sanding will fix that.
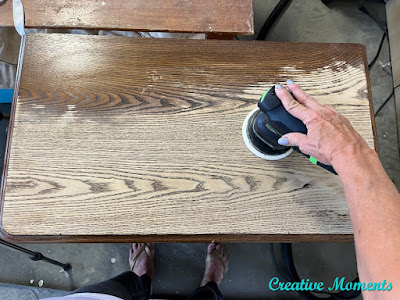
This handy unit hooks to your shop vac, here are a couple videosThen it was on to power sanding with my Festool orbital sander
Sanding progress
But it turned out the veneer top had an area that burned thru where damaged.
DAP wood pro filler to the rescue.
Then it was sanded smooth.
There was one missing plastic foot but I happened to have the exact one in my extra parts stash.
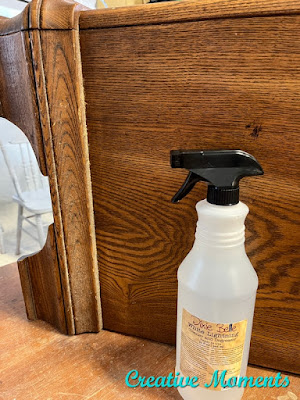
Once dry the entire dresser was scuff sanded with a sanding sponge. This step is preparing for the paint as it roughs up the smooth surface a bit allowing better adhesion.
Laying the dresser on it's back allows the under edges on the top and bottom to be painted. This gives a nice finished professional paint job.
The top getting its first coat of silk paint.
The top drawer was sanded clean with my Festool Rotex sander with the mouse head. Just one little spot to go and it looks good as new.
The first coat of paint complete.
The back edge shows how the furniture maker tried to make the dresser look to be made of solid wood but where the corner edge of veneer chipped off showing the chip board underneath.
There were a few gouges that showed up after painting that needed some wood filler. Once dry and sanded, a second coat was brushed on.
using my mister bottle to keep the second coat smooth video
After waiting for a day for the last coat of paint to dry well at least 24 hours, the kaleidoscope
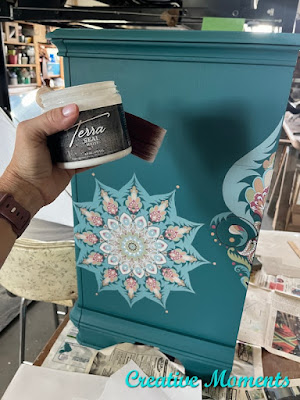
Dixie Belle transfer was applied. Cut the pieces out, place where desired and rub in place.
transfer application video
The top had transfers added too.
Such a fun transfer don't you think?
This is all that is left of the entire transfer.
Then the transfer was sealed with 3 coats of Terra Seal, This is matte finish which works lovely with the silk paint.
take video tour
Links to the Dixie Belle products are for your convenience. My affiliation with this company does not increase prices on your end, your purchases via my links do however provide a small subsidy which allows me to keep providing these free tutorials. Thank you!
FEATURED ON
Shared on these fun link up parties












I love your posts!! You are so talented!! If I still lived in Canada, I would hope I could come see your shop.
ReplyDeleteTHANK YOU!! Your kind words have made my day. I truly appreciate you sharing them with me
Delete