

I can never pass a solid wood table set, these 3 are from Vilas and are very well made. The
coffee table was refinished first with the buyer calling the matching fraternal end tables. She also wanted the light wood top darkened which was doable while refinishing the end tables.
The matching fraternal tables make for a unique one of a kind set.
The gorgeous solid wood stands the test of time for years so well worth updating.
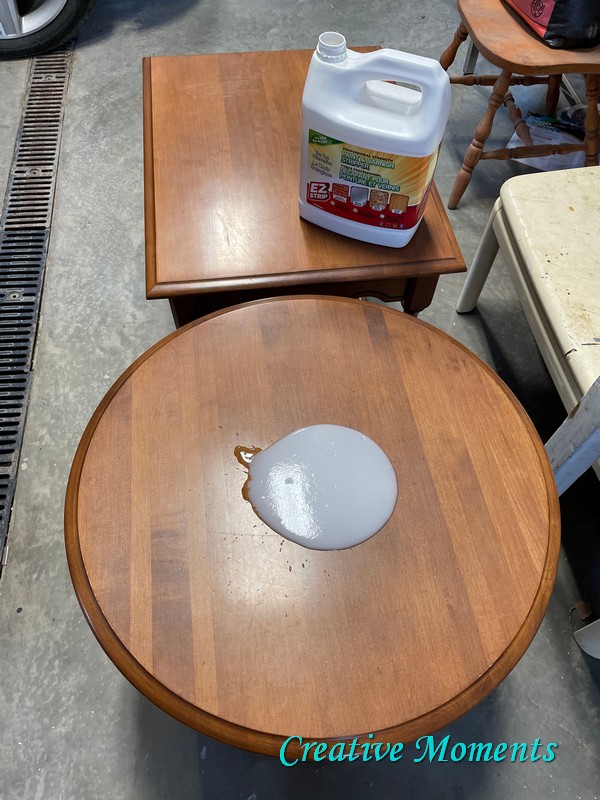
I did try removing after a few hours but this was the result.
So I waited and that worked much better.
After about 12 hours I scraped the old finish off with a metal putty knife.
To neutralize and remove the remaining softened finish I scrubbed the top with clean water and a green scouring pad rinsing often till all was removed.
They were hauled outside and power sanded to bare wood.
This was after 80 and 100 grit.
Still has a ways to go.
The next day they were once again hauled back out and finished using 120, 150 and 180 grit papers.
Then the top and the sides were hand sanded with this awesome big sanding block;
Richard
Tool Sanding Sponge. The base finish was lightly scuffed for best paint adherence.
Everything was then wiped with Fusion TSP Alternative and a bit of dawn mixed in a spray bottle. This allows for a nice clean surface for paint to stick.
Here is a video demo of how easy it is to apply.
The first coat dry was followed with 2 more coats each requiring 9 plus hours between each coat.
But once wiped back it lightens up allot. This is going to require a few more coats. It was then on to painting the bases. They were done in Fusion Mineral Paint's new cashmere color to match the coffee table. Two coats were brushed on in total.
3 coats of cappuccino Fusion
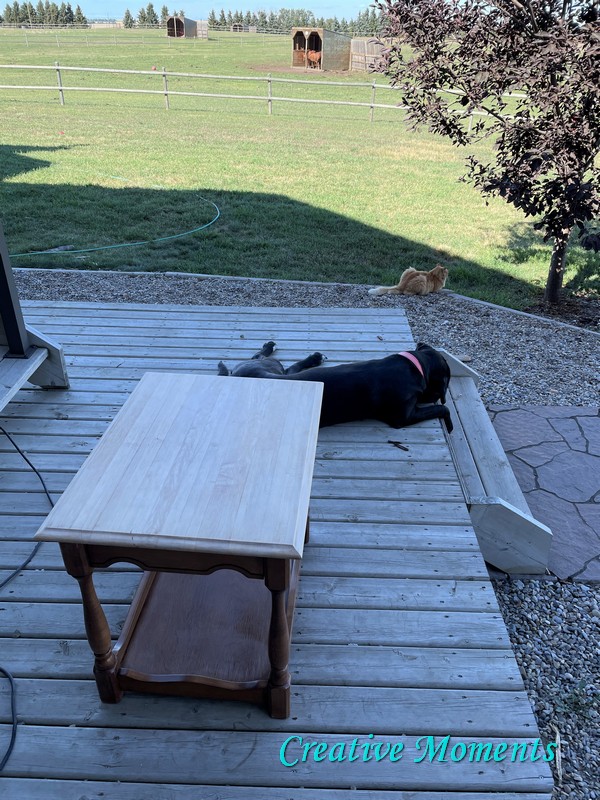
Stain & Finishing Oil went on over the 3 natural coats. This is the coffee table now darker.

And these are the end tables.


I had removed the tops to paint the bases and these photos show the gorgeous solid wood and great construction.
I brought them into my dining room to start the curing process before pick up.
As well as send photos to the customer which she approved.
The rectangular table looked lighter so a 4th coat of cappuccino was applied to have all the same darkness.
Time to stage them up.
Shared at these fun link up parties


GORGEOUS
ReplyDeleteTHANK YOU!!
Delete