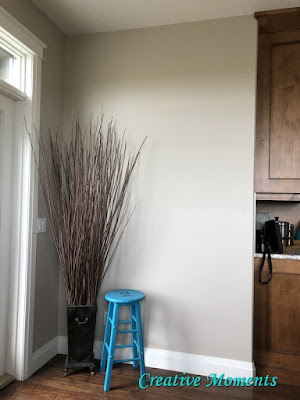
Here is my new white staging wall above and the previous color below
Email me
Originally we planned to do a white ship lap wall, we sourced 1" X 8" X 6' pine boards and hauled them home in the cab of our truck as rain was off an on. This is not the recommended way to transport long boards for an hour drive. :)
Once home, we stacked and secured the boards to keep them straight.
Once I laid the boards out to organize the wall order I found the edges were not exactly square and with nickel spacing in some areas, others would touch. After researching ship lap walls I found we could router each edge to get the perfect look and spacing HOWEVER that would require allot of time and effort for this staging wall so paint was the next choice.
If you have done a ship lap wall please comment what you used or a photo. I do really want to have one some day!

First step was to painters tape the ceiling, baseboard, chamfered edge and adjacent wall to make the paint job faster (L) then cut in these edges with an angled paint brush. Drop cloths are another time saver.
I chose a simple true white paint (you will notice my decorator white base boards now look creamy)
A roller was used for the flat surface. Above is one coat
and below 2 coats, now remove the painters tape and it is complete!
Here is the first staged piece, the white allows the true paint colors to photograph better.
Shared up at these linky parties
Creative Inspirations


Comments
Post a Comment