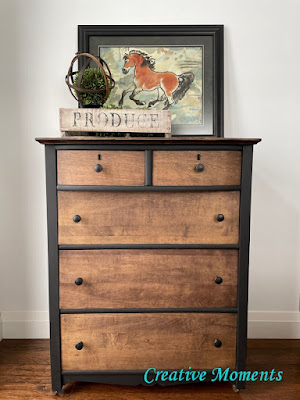
Classic and timeless are the 2 words next to gorgeous that are used for this antique dresser makeover. Do you agree?
This one was restained in a dark haphazard application along with so many scratches in the oddest of pattern. Knobs were missing, extra holes drilled in the fronts and a wonky caster.
It was scrubbed inside and out to remove years of build up and get all the surfaces clean using Dixie
Belle white lightning cleaner in a bucket of warm water and a bit of dawn. I scrub well with 2 sizes of scrub brushes then rinse well and dry.
I am a huge recycler and repurposer and cannot use new plastic to cover but I can cut plastic bags used when parcels are delivered by courier. You only need 1 layer to press over the product and let do its work.
stripper at work video
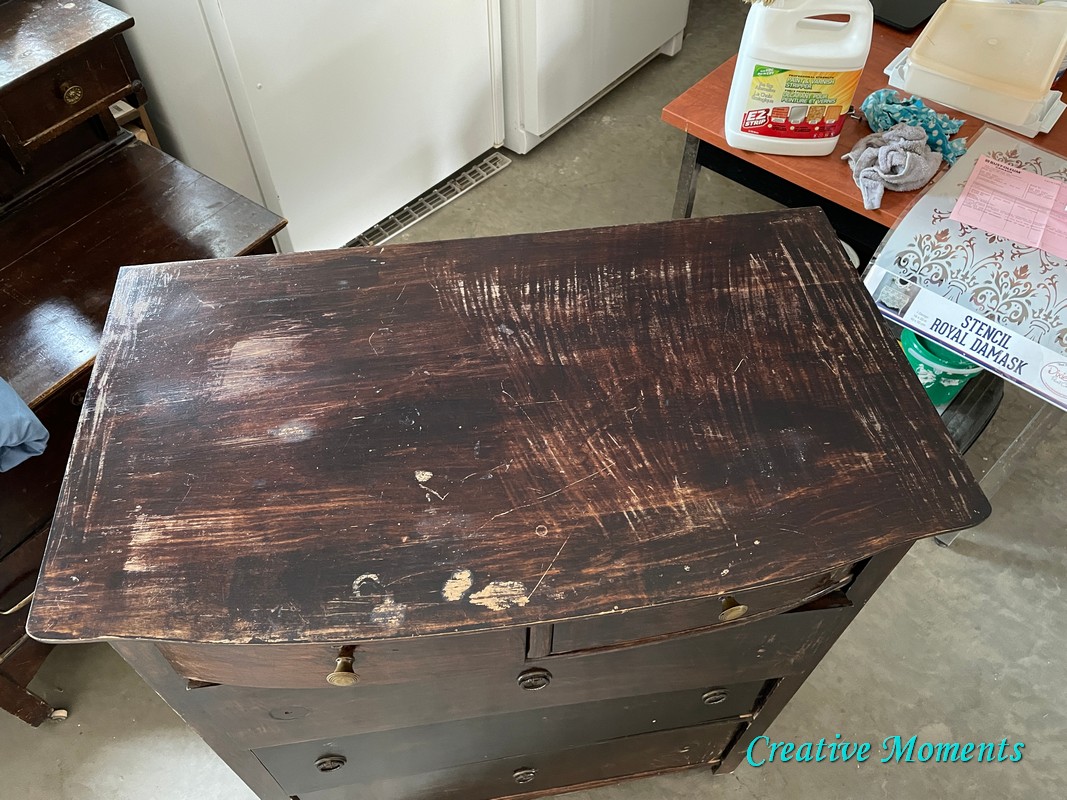
Here is the top after all the stripper/finish was scraped off.
And here it is after a quick power sand. Looking much better but more to go.
Moving onto the drawer fronts the brass echelons were carefully pried off with out bending. It was a patience challenge as there were layers of stain and sealer over parts. They are all ready to strip below.
video views of using this stripper
Repeat the same steps as the top. Above is the scraping off step.
Then the rinse and scrub with a green scouring pad which helps to remove the wee bits left the scraper missed.
The one top drawer front was power sanded and this is where it was left for awhile as other projects took precedence.
I added wood filler to the 2 drawer fronts with the extra holes drilled for knobs.
The dresser sides were power sanded to remove any loose finish and smooth the layers.
The drawer fronts required many passes with the orbital sander to remove most of the scratches.
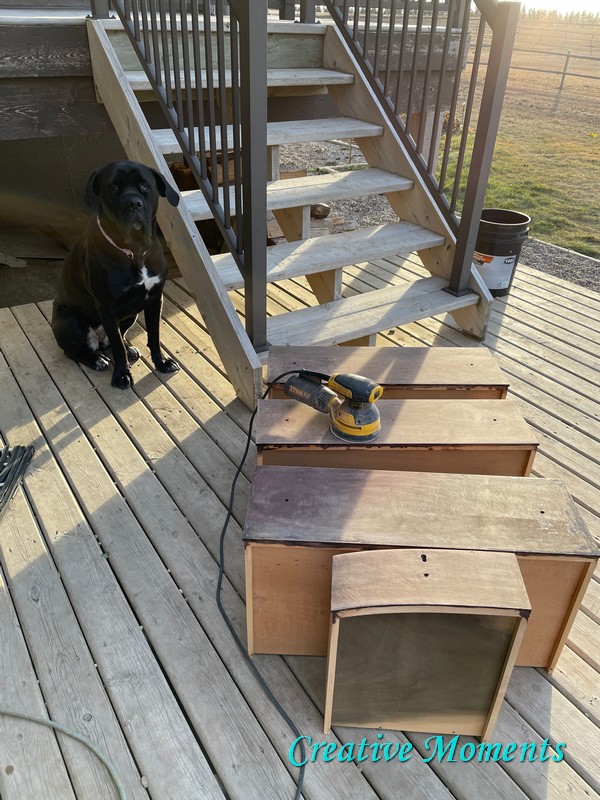
I like to do my sanding outside and usually have a supervisor. This is Harley; the cane corso.
Starting with 80 grot sandpaper and moving thru the grit took time but it was a lovely day to work on it.
Here they all are after the final 150 grit.
One coat was brushed on then after about 4 hours I touched up areas needing just a bit more. Dixie
Belle sanding sponge was used to softly buff the paint and lightly distress edges to keep the antique vibe.
To make the wooden drawers slide easier I usually rub wax on the runners.
While I had the dresser tipped on its back to easily reach the interior to brush on the butta I noticed the under side of the top curved drawer divider got missed painting.
It is always a great idea to lay a piece on its back for this very reason so you can see areas that may have been missed when painted in an upright position. Having the underside edges painted gives a professional touch to the hand painted project. Small details make a HUGE difference.
Set back upright once dry and the drawers in place it was time to decide on new knobs.
How about black or glass?? Easy choice black all the way.
The original echelons were scrubbed clean and painted with the anchor black paint.
Then carefully put back in the drawer fronts.
Now this beauty is ready for 100 more years refinished in this timeless color combination.
Links to the Dixie Belle products are for your convenience. My affiliation with this company does not increase prices on your end, your purchases via my links do however provide a small subsidy which allows me to keep providing these free tutorials. Thank you!
FEATURED ON!!
Shared up at these fun parties


Refinishing perfection!! Seriously, the black with the walnut stain couldn't be anymore beautiful! Pinning!
ReplyDeleteThank you so very much Cindy, your kind words make all the work worth it :)
DeleteThis project was a big job, but the end results is beautiful and so worth it!
ReplyDeleteThanks for sharing at the FWF party!
hugs,
Rachelle
Thank you Rachelle, so much work but so worth it... glad it was for my daughter too :)
Delete