It was my pleasure to restore this antique highboy chest of drawers for a customer for her young daughters' bedroom. Classic white will grow with them and pair with almost any accent color they choose over the years.
The wooden dresser was the customers grandmother's. I just love when people keep this historic pieces in the family passing down thru the generations.
Updating them with fresh new color after a good scrub and repairs allow them to serve for many more years.
The style and detailing of this beauty is perfect for a little girls room.
The drawers are out of original order when it arrived and it also came with a padlock added by one of the little girls who then lost the key.
Step one was to remove the pretty hardware and cut the lock off the one pull.
Most antique dressers require regluing of joints and drawer supports after drying out over the years. I add wood glue to these areas and let dry well.
I always give old pieces a deep scrub as they collect allot of dirt dust and grime over the years.
I use a scrub brush, a bucket of warm water with Dixie
Belle white lightning cleaner in it and get in all nooks and crannies inside and out. It is all rinsed well with clean water.
While damp I like to use weights to flatten the bottom of drawers as many tend to bow over the years. If using metal cans I always add newspaper under to be sure no rust happens.
The drawer fronts are wood veneer and bubbling in a few places. Using my offset spatula I carefully put wood glue on the underside then wipe off excess.
Using a spare piece of wood the surfaces is clamped flat and left to dry.
When dry the clamps are removed and the area lightly sanded with a fine grit RAD pad by
SurfPrep.
A few more areas were repeated with the above process.
This is after dry and lightly sanded.
There were areas were the veneer was chipped off. These areas were filled with Dixie Belle mud, let dry and sanded smooth.
Using the clear BOSS allows for the wood tone to show thru when distressed easily.
It goes on milky (L) but dries clear (R).
When it was dry there were indented circles that showed. Anything you see now will show thru paint so they were filled with Dixie Belle mud too.
The customer wanted to try and save the blue tone of the carved lines. I did so but was not a fan after seeing with the white paint. I shared the photos with the customer who agreed so moving forward they were painted over.
I used one of my fav Dixie
Belle synthetic brushes; the mini angle. Above you can see the first coat going over the clear BOSS and mud filled circles.
First coat of white complete.
While the first coat of white paint dries, a drawer was glued, clamped and left to dry too.
When antiques were made they were marked with a number, each drawer then had a corresponding number to show order in that piece.
Being hand crafted this assured the right drawer went in the right spot. Above the drawer is marked to go in piece 49, top right.
The big drawers are marked as well and once the details are highlighted you will see how the design was intended on the drawer fronts.
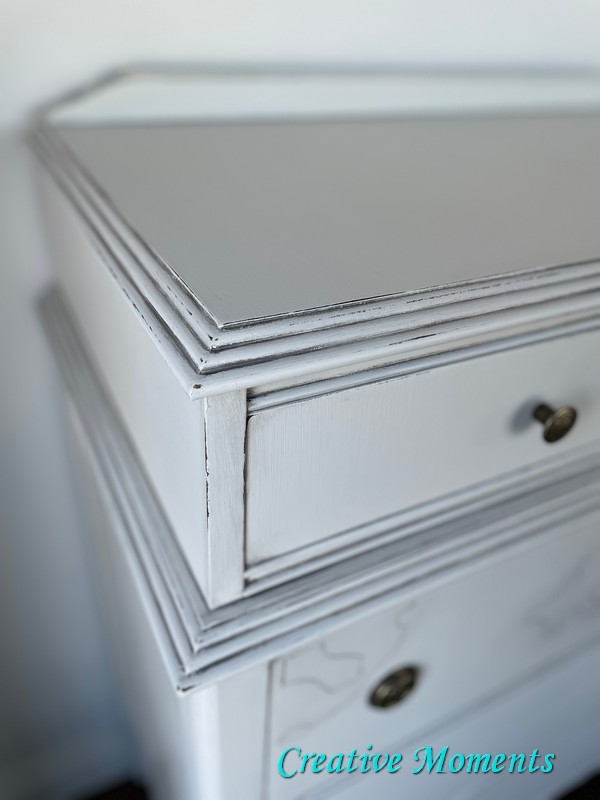
The entire dresser was sanded smooth with a sanding sponge and the edges lightly distressed in keeping with an antique feel.
The original hardware was very pretty but needed a polish. See how metal polish bring it back to life (above left)? I left some of the old patina for character.
The pulls and knobs were put back on, lovely right?
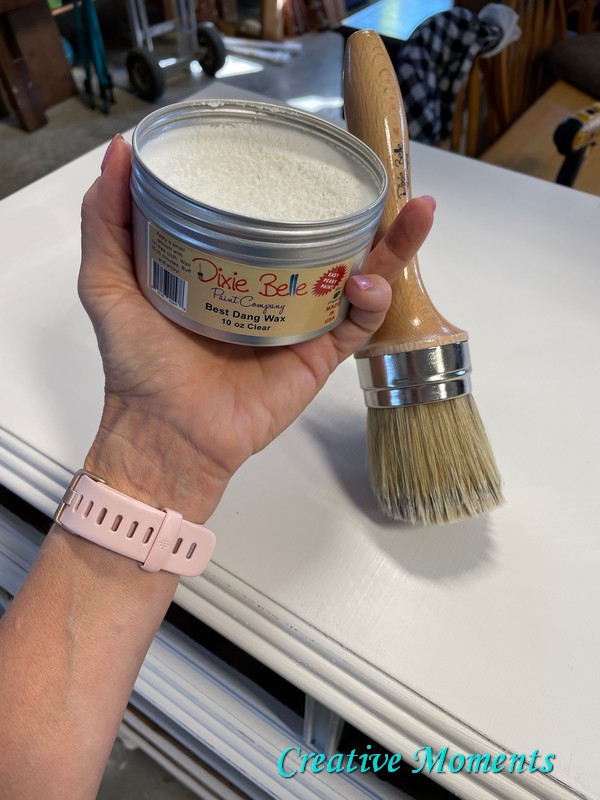
Here is a video of the grey wax going on.
This step adds age, depth and brings the piece to life. It makes the carved details POP!
Another grey waxing video
And this antique beauty is complete! Ready for many more years of use.
Links to the Dixie Belle products are for your convenience. My affiliation with this company does not increase prices on your end, your purchases via my links do however provide a small subsidy which allows me to keep providing these free tutorials. Thank you!
FEATURED ON
Shared up at these fun parties


Hi there! Your dresser turned out wonderful! I was super inspired by your design eye and skill. I would love to invite you to link up your project at Whimsy Home Wednesdays to inspire others and have a chance to be featured https://www.artsandclassy.com/category/diy/whimsy-home-wednesdays-linky-party/
ReplyDeleteThank you for the kind words and invite Meredith, I have popped over to join in on the fun!
Delete