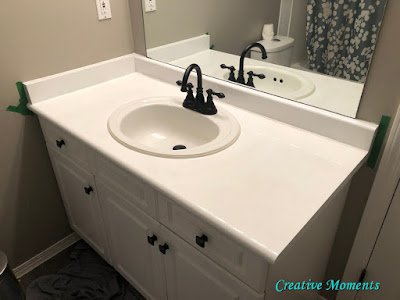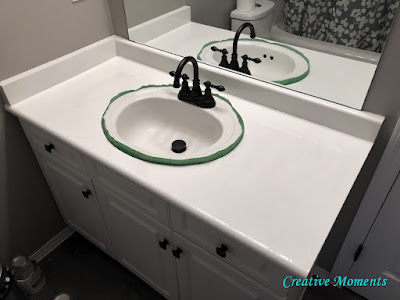
Another project in my youngest daughters new condo was to update the bathroom counter top.
All existing caulking was removed.
The existing countertop was sanded with the special sander (shown right) after wiping everything clean. This abrasive sander roughs up the existing surface to allow the products to stick well. Once everything has been sanded well, wipe again to remove any sanding dust.
Tape off the sink an walls with painters tape.
Stir the base coat well,
Then begin by brushing the edges, the back splash and a couple inches out from the backsplash.
Use the included roller and roll on the rest of the surface.
Let the first coat dry for about 2 hours then repeat the above steps. Check both coats that everything is smooth with no sags or drips.
These videos are to give a better look at the application.
After a few hours the tape is removed, be careful as you may remove areas of paint (score tape edge if needed) or find wee areas were missed as the tape covered them. I touched these up with the edge of the brush.
The next day about 24 hours later lightly sand the base coat, wipe then the glittery mica coat is applied. The two cans included in the box are mixed into one can and stirred for at least 2 minutes to make sure all is mixed well. You now have 4 hours to apply it and then the can turns to rock.
Repeat the pattern of doing the edges, back splash and out from the back splash. This product is very stinky. There is another smooth roller included to apply this product. BE SURE to look for any sags, drips or thicker areas. This is VERY important as you will soon read.
Remove the tape after a few hours and allow to dry 48 hours for light use and a few more days for regular use.
Then this happened as it dried :(, thicker areas turned yellow and looked discolored.
I did not notice these thicker areas but did not think it would yellow. Lesson learned to share with you all.
To fix this, the top was sanded lightly to remove the thickened yellowing portion
Then sanded some more. The company suggested this and then reapplying the mica coat (which they kindly sent new cans of) however I was just not happy with the discoloration that still showed after sanding.
So I repeated all the steps from square 1. Here is the base coat (lots remained from the first time) going over the clear sparkly mica coat.
Two fresh full coats of base coat. The second coat was a bit of a bugger as the last half was drying quicker then I wanted and starting to tack up and show marks so I wiped it off with a damp cloth and reapplied that area. When it was dry the next day I sanded the base coat lightly and any marked areas smooth.
Then a coat of the mica mix
and all left to dry one more time. This time it turned out much better.
BE SURE:
don't use heavy coats
check for sags, drips, runs and thicker areas
move quickly and don't go back over completed areas
plan to not stay in the house overnight while the mica coat cures, it smells
and
if it doesnt turn out you can always do it over ;)
Shared up at these linky parties


Comments
Post a Comment